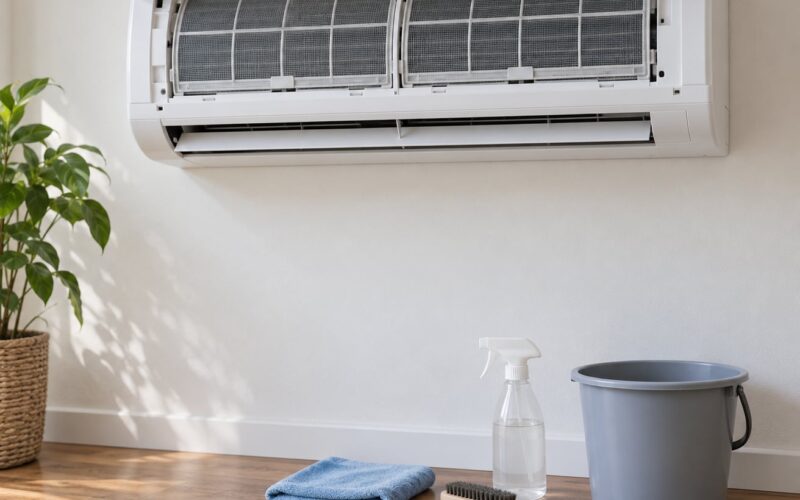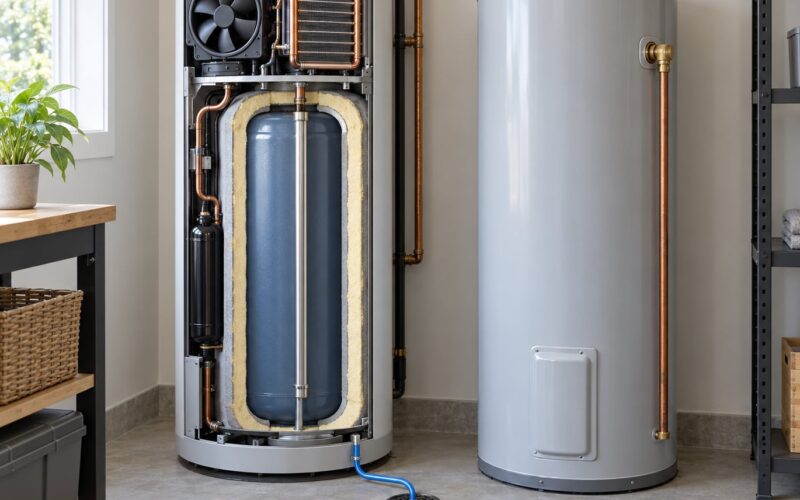
Most clogged AC drain lines clear up with a wet/dry vacuum on the outside pipe and a vinegar flush at the pan. The job takes about 30 minutes and costs a few dollars in supplies, and you can do it without opening anything sealed. Knowing how to clear a clogged AC drain line yourself is the difference between a soaked ceiling and a wiped-up floor.
The catch is doing it in the right order. Turn the power off first, work from the outside termination point inward, and flush only after the vacuum has pulled the bulk of the blockage out.
Table of Contents
- What You Need
- Step-by-Step: How to Clear a Clogged AC Drain Line
- 1. Turn Off the Air Conditioner and Protect the Area
- 2. Locate the Condensate Drain Outlet
- 3. Remove the Debris Blocking the Drain
- 4. Flush the Drain Line With a Wet/Dry Vacuum
- 5. Flush Until Water Drains Freely
- 6. Clean the Drain Pan and Inspect the Exit Pipe
- 7. Test the Drainage and Restore Operation
- Common Mistakes
- How to Prevent the Drain From Clogging Again
- When to Call an HVAC Technician
- Frequently Asked Questions
- Can I use boiling water to clear a clogged AC drain line?
- Why is my AC drain line clogged even though I changed the filter?
- What should I do if water is leaking from the air conditioner?
- Is it safe to pour water into the AC drain line?
- How often should I clean the AC condensate drain line?
- What does it mean if both the primary and secondary drain lines are clogged?
- Conclusion
What You Need
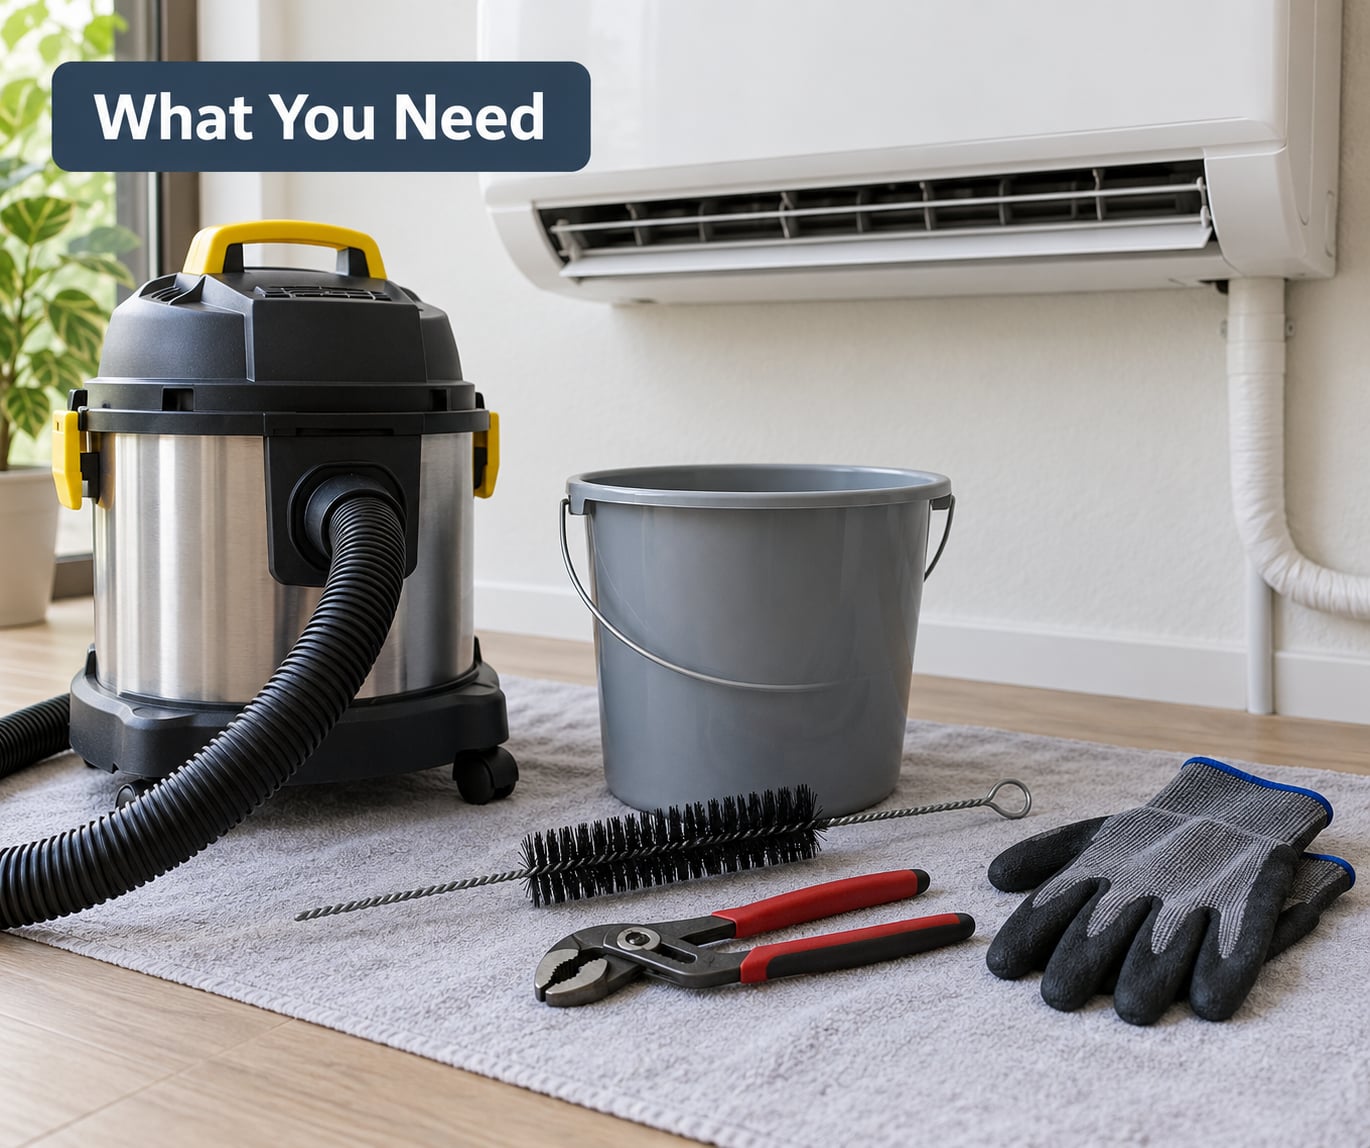
Gather everything before you open the cabinet. Scrambling for a rag with wet hands is how people drip water onto a floor they already have a problem with.
- A wet/dry vacuum with a hose that fits over the drain pipe. This is the one tool that does the real work.
- A small bucket and old towels for water that comes out of the pan.
- A flexible drain brush or a plumber’s tool that will bend without snapping, for the debris in the trap.
- Distilled white vinegar, about a cup per flush.
- A wet rag for sealing the vacuum hose to the pipe.
- Gloves and a flashlight if the unit sits in a crawlspace or closet.
Skip the whole procedure and call an HVAC technician if the water is coming from anywhere other than the drain pan, if you see a refrigerant line that looks split or oily, or if your air handler sits in a space you’d rather not crawl into. Attic units on narrow joists are not worth a back injury.
Step-by-Step: How to Clear a Clogged AC Drain Line
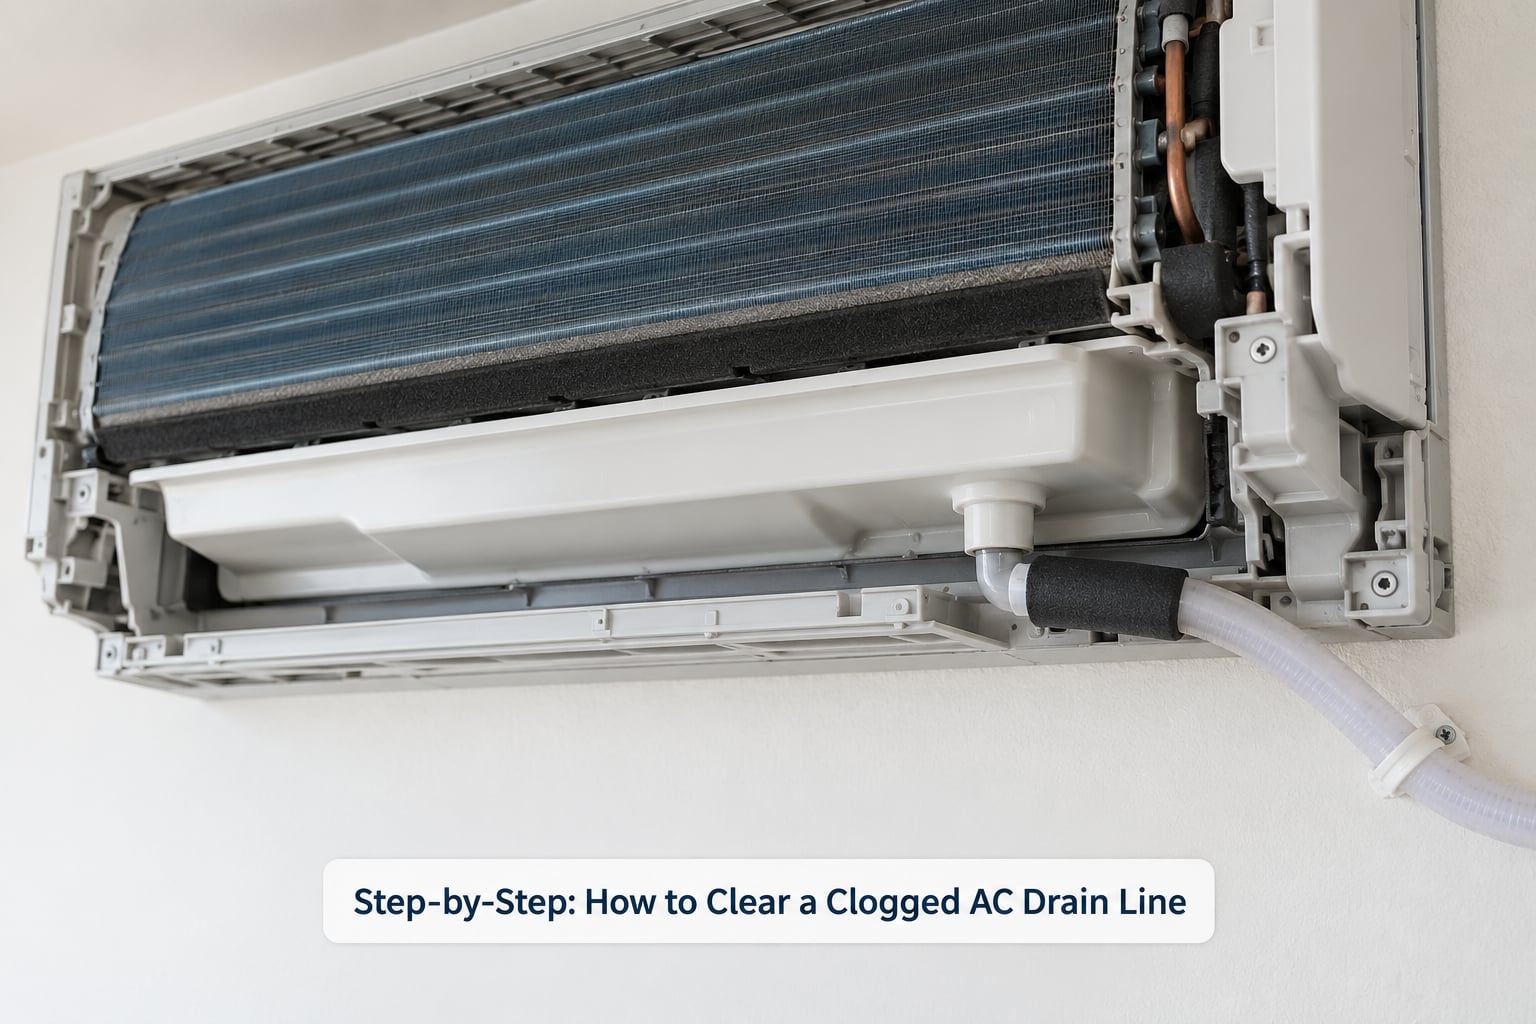
1. Turn Off the Air Conditioner and Protect the Area
Set the thermostat to off, then flip the air handler breaker off at the panel. Most homes have a labeled breaker; if it does not, and you cannot positively identify which one serves the air handler, stop and ask an electrician.
Drape towels under the drain pan and put the bucket on the floor below. You will want a dry path out of the room if the pan is already full.
2. Locate the Condensate Drain Outlet
Follow the PVC pipe leaving the bottom of the drain pan until it exits the house. It usually emerges near the foundation, a few feet from where the condenser sits, or it may run to a drain stub in the garage, a floor drain, or a hose bib area.
Look for a T-shaped fitting with a threaded cap partway along the pipe. That is the cleanout port, and it is the easiest place to flush from. Most systems also have a secondary drain that exits through a visible opening above or beside the unit, usually higher up on the cabinet, so a rising pan is visible instead of hidden inside a ceiling.
3. Remove the Debris Blocking the Drain
Unscrew the cleanout cap and set it in the bucket so you do not lose it in a wet floor drain. Shine the light down the opening and you will usually see a grey-green mat of algae and dust sitting right there.
Work it out with the drain brush. Twist, don’t push. Anything you force deeper just compacts the blockage further down the pipe where you cannot reach it, and you can also puncture the pipe wall with a stiff tool.
4. Flush the Drain Line With a Wet/Dry Vacuum
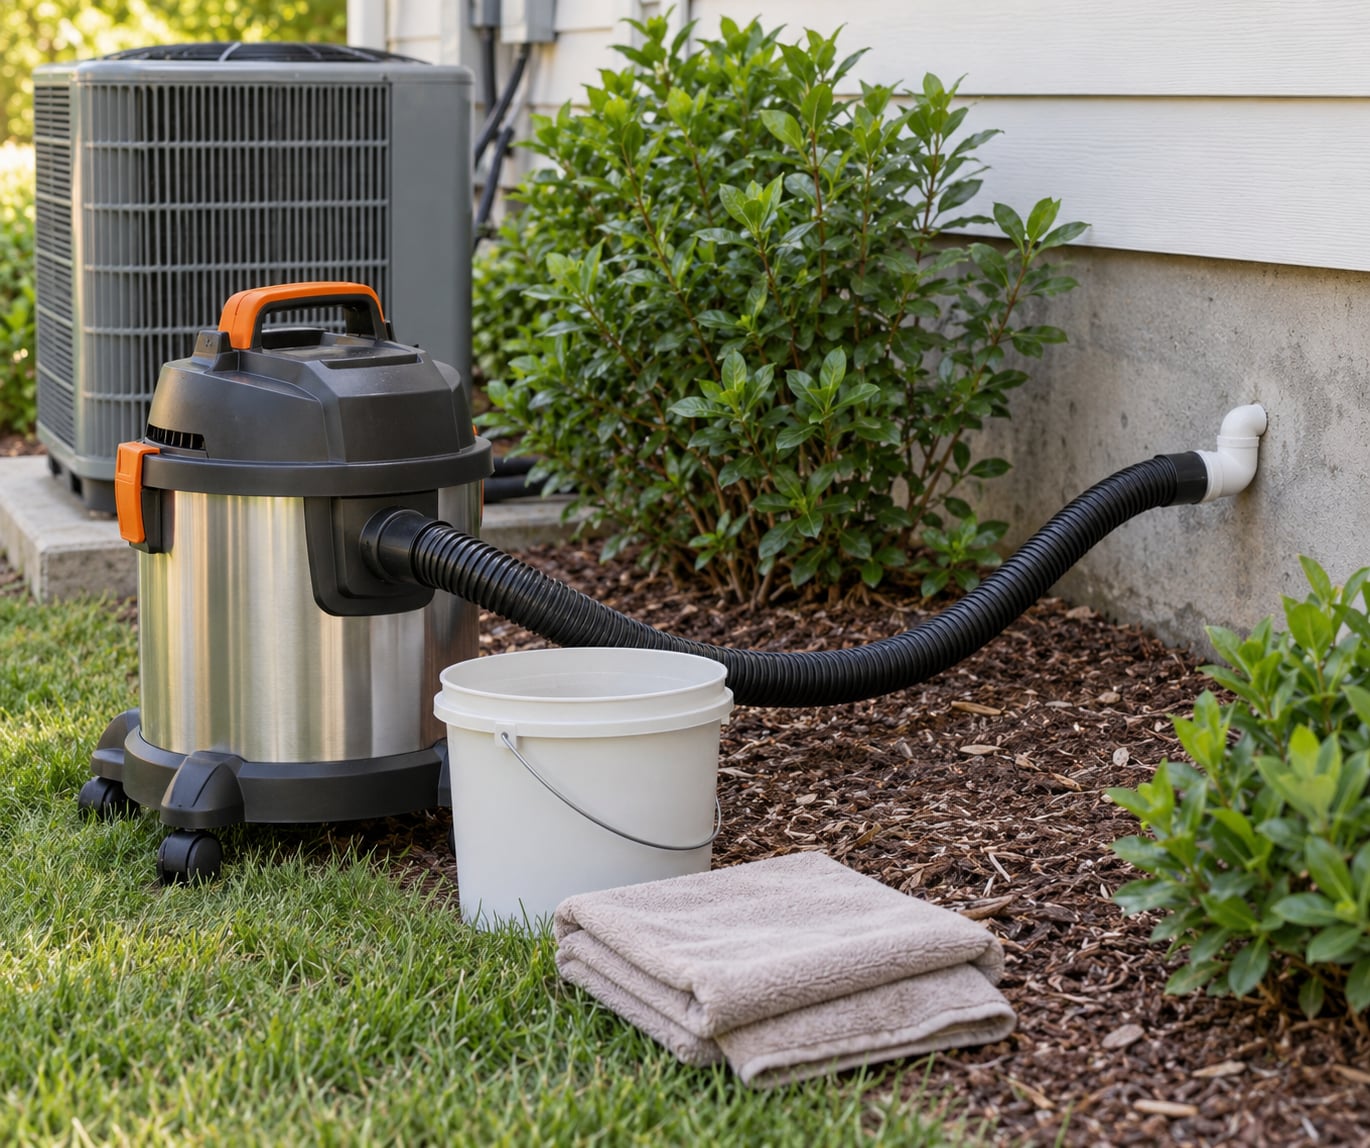
Go outside to the termination point and slide the vacuum hose over the open end of the pipe. Wrap the wet rag around the joint and squeeze it tight. A loose seal pulls almost nothing, and this is the step people most often rush.
Run the vacuum for one to three minutes while you listen. Suction that changes pitch or cuts out tells you the blockage just moved. If the hose stays dead silent from the start, the clog is likely a solid plug right at the opening, so go back to the brush.
5. Flush Until Water Drains Freely
Back at the cleanout, pour in about one cup of distilled white vinegar and let it sit 20 to 30 minutes. Vinegar loosens the biofilm so the next pull has something to grab.
Follow with a cup of lukewarm water, then reattach the vacuum outside and run it again. Repeat the flush and vacuum cycle twice. Pour water in slowly. The line is only three-quarter inch PVC with a trap in it, and a fast pour can push water back over the pan lip.
6. Clean the Drain Pan and Inspect the Exit Pipe
With the vacuum still running outside, open the cabinet and empty any standing water out of the drain pan into the bucket. Wipe the sides and the bottom of the pan; that film is what seeds the next clog.
Outside, check the outlet for leaves, mud, algae crust, and insect nests. Clear anything you can reach by hand without digging. If the pipe runs underground or under a deck, leave it to a technician with a drain machine.
7. Test the Drainage and Restore Operation
Pour a measured amount, say two cups of water, into the cleanout and watch the outside outlet. It should run out within a few seconds and in a steady stream. Water that sits, trickles, or stops halfway means the line is not clear yet.
Screw the cap back on hand-tight, dry the cabinet, remove the towels, and restore the breaker and thermostat. Let the system run a full cooling cycle, then check the pan and the outlet again after 30 minutes.
Common Mistakes
Nearly every repeat clog traces back to one of these.
- Pouring water without a seal. Water finds the low spot in the trap and sits there. Fix: use the wet rag and re-vacuum before you add anything else.
- Forcing a tool deeper. A blockage driven forward or a punctured pipe turns a twenty-minute job into a pipe replacement. Fix: twist and withdraw, never push.
- Ignoring the secondary drain. When the primary line clogs, water backs into the secondary pan and rises. That pan is how you spot the problem early. Fix: check it every time you open the cabinet.
- Opening sealed parts. Do not remove the coil’s refrigerant fittings, the blower cover, or anything electrical. Fix: stop at the pan and the drain port.
- Assuming the outside end is the only problem. A buried or disconnected line can leave everything above ground looking clean. Fix: test from the cleanout, not just at the outlet.
- Using Drano or an acid cleaner. No. Do not put drain cleaner down the line. Caustic and acidic products can eat through PVC and the copper coil’s connections, and the fumes are unpleasant at best.
Compressed air from a canister is another common dead end. It moves a light blockage and then gives up, pushing the sludge further along where it packs tighter.
How to Prevent the Drain From Clogging Again
Check the pan and cleanout once a month during cooling season. Open the cap, pour a cup of water, and confirm it exits. Ninety seconds of maintenance beats an emergency on a Saturday.
Flush with a cup of white vinegar after a long idle period, in spring before you switch the system on, and any time you see more water sitting in the pan than you expect. Keep a mild detergent or pan tablet in the pan if the installation is prone to algae, following the unit manufacturer’s guidance.
Change the filter on schedule, usually every one to three months. A dirty coil makes more condensate and the extra water picks up more dust, which feeds the algae. Confirm the unit has a working float switch or condensate overflow switch too; that switch is what protects your ceiling, and it is worth a cheap test each season.
On heat pumps and ductless mini-splits, do the same check on the smaller drain hose that comes out of the indoor head or the outdoor unit. On mini-splits that drain through a rising line, pour water in slowly and never force air upward, since a blockage there often means a service call rather than a shop vac.
If the line clogs again within a couple of weeks, stop repeating the same flush. Homeowners who flush daily and vacuum twice a month without a lasting result usually need a proper cleanout port added near the outdoor unit, or a technician nitrogen flush that clears what a household vacuum cannot.
When to Call an HVAC Technician
Book service when the line keeps clogging, when water still sits in the pan a day after a full flush, or when there is no drainage at the outlet after you vacuumed it out.
Water inside the air handler cabinet that you cannot reach, a cracked or corroded drain pan, gurgling inside the cabinet during a cooling call, or a musty smell that returns days after cleaning all point to something past a simple blockage. So does a line buried under concrete or a suspected collapsed section.
A technician has a nitrogen or water pressure machine and a camera. That matters most when the clog sits deep in a long run, when the pan is not pitched correctly, or when the trap and secondary line are blocked too. A float switch that keeps tripping after a clean flush means water is coming from somewhere you have not found yet.
Frequently Asked Questions
Can I use boiling water to clear a clogged AC drain line?
Skip it. Boiling water can crack PVC, warp a trap fitting, and open the joints on older copper drain components. Lukewarm or room-temperature water works fine for flushing residue once vinegar has had 20 to 30 minutes to soften it. If you want more heat than that, run hot tap water through a garden hose for a minute and use the warm output.
Why is my AC drain line clogged even though I changed the filter?
The filter is only part of the story. Condensate lines clog mainly from algae, mold, and dust that collect in the pan, and dirty filters make the coil colder, which means more water and more dust carried into that pan. Damaged filters also let debris past into the drain. Filter changes help, but a monthly pan and cleanout check is what actually keeps the line open.
What should I do if water is leaking from the air conditioner?
Shut the system down at the thermostat and the air handler breaker before you touch anything. Then work out whether the water is coming from the drain pan, the secondary overflow, or condensation dripping off a freezing evaporator coil. Water found outside the unit during a cooling call is often just condensation, so leaving the system running for a few minutes and watching where the droplets form will tell you which one it is.
Is it safe to pour water into the AC drain line?
Yes, if you pour it slowly. About one cup at a time is plenty, and lukewarm water is better than cold because it carries vinegar and loosened residue along instead of leaving it behind. Do not pour fast or pour several cups at once. The line has a trap and the pan sits right under it, so a rush of water can overflow the pan and put you back where you started.
How often should I clean the AC condensate drain line?
Once a month during cooling season is a good rhythm: open the cleanout, pour a cup of water, and confirm it runs out the outdoor end. Flush with vinegar after any long idle period and before the first cooling call of the season. If you live somewhere with heavy humidity or the outdoor outlet sits in shade and stays wet, check monthly and flush every couple of months.
What does it mean if both the primary and secondary drain lines are clogged?
It means the blockage spans the whole system, usually heavy algae growth through a long line, and it is past what a household wet/dry vacuum is going to fix. Both pans are now backing up and the float switch will trip. This is the point to stop flushing and call a technician with a pressure or nitrogen machine, and to consider adding a cleanout port near the outdoor unit.
Conclusion
Start at the breaker, work from the outside pipe inward, and let the wet/dry vacuum do the pulling before you add any liquid. Flush slowly, test with a measured cup of water, and watch the pan through one full cooling cycle.
If the blockage comes back within weeks, or if anything you find involves sealed refrigerant parts, electrical components, or a buried line, that is the point to stop and let an HVAC technician take it apart. Knowing how to clear a clogged AC drain line is a useful skill, and knowing when it has run its course is the part that protects the house.