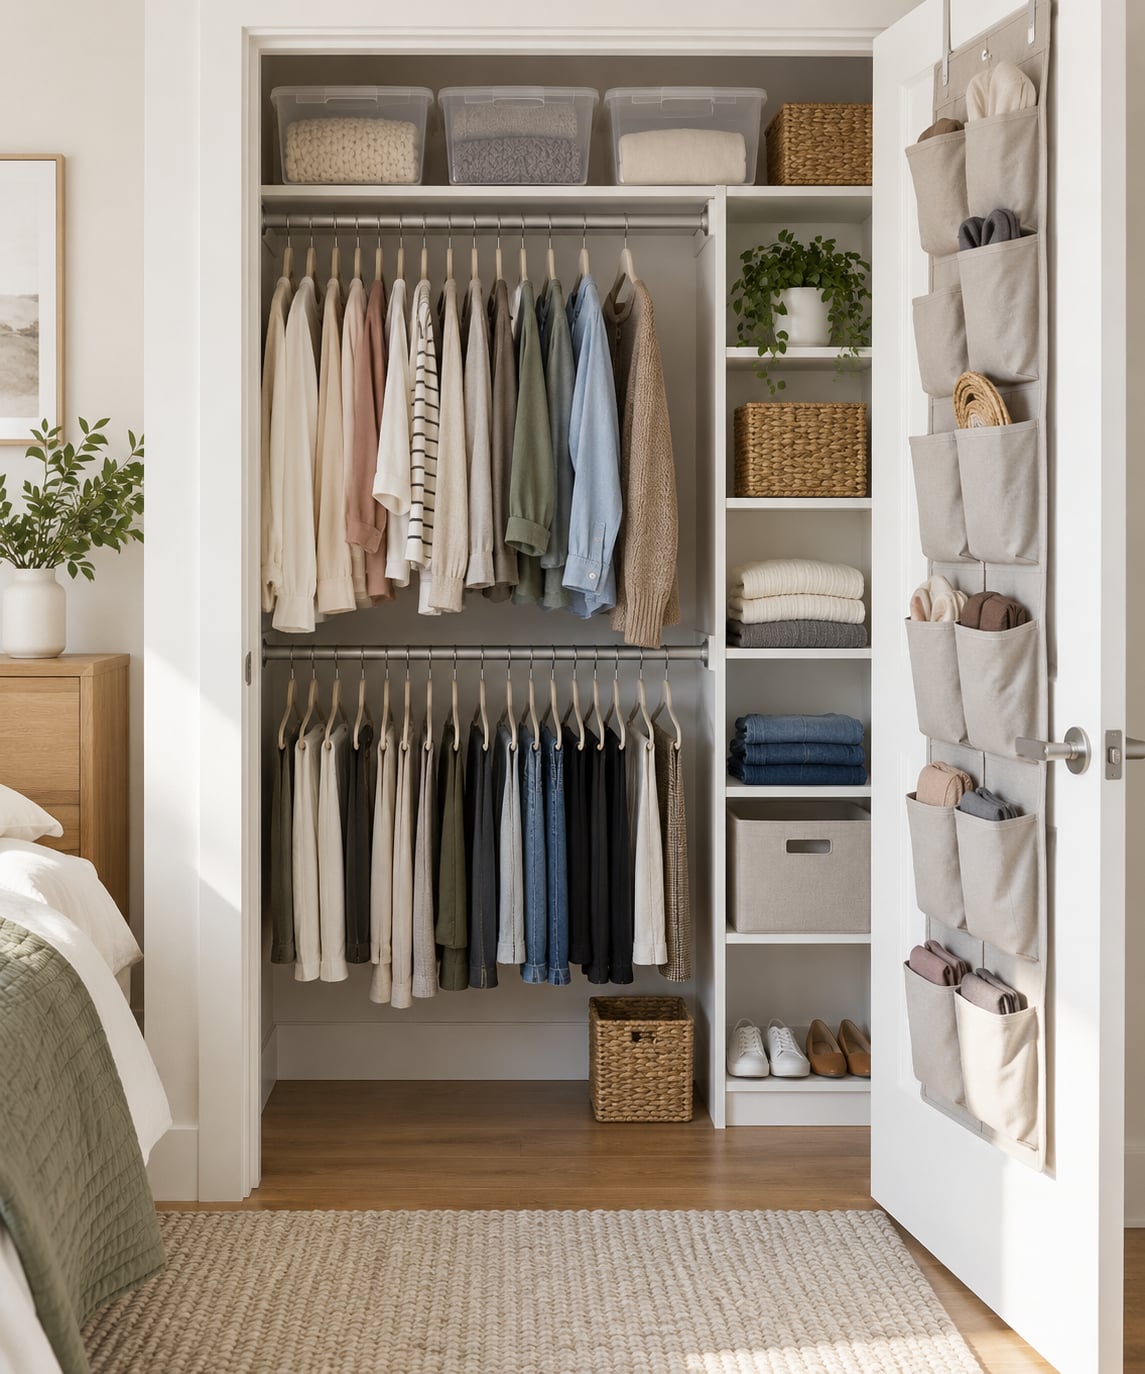
You can add meaningful closet storage without a remodel by editing down what you own, then adding removable vertical tiers: a second hanging rod, a tension rod, narrow shelving, cube units, and over-the-door organizers. Almost all of it comes out with a screwdriver and comes back out just as clean when you move.
That is the whole idea behind learning how to improve closet storage without a remodel. Most closets were designed around a builder-grade default: one rod, one high shelf, and a lot of air above your head. None of that space is useless, it is just unclaimed. A weekend of measuring, sorting, and adding removable pieces typically recovers a fifth or more of the closet’s usable capacity.
The eight wins below are the ones I come back to, in the order they matter:
- Measure the closet and inventory the contents before buying a single organizer.
- Purge what you have not touched in a year, then relocate what is seasonal.
- Group clothes into zones by how often you wear them.
- Add a second hanging rod so short garments hang twice instead of once.
- Claim the vertical gap between the existing shelf and the ceiling.
- Match organizers to the shelf depth you actually measured.
- Hang storage on the back of the door and use S-hooks on the side walls.
- Add motion-activated lighting so a crowded closet stays usable.
Nothing here requires a permit, a contractor, or new drywall. If you rent, that reversibility is the entire point.
Table of Contents
- What You Need
- Step-by-Step: How to Improve Closet Storage Without a Remodel
- Step 1: Measure the Closet and Identify the Storage Problem
- Step 2: Remove, Sort, and Reduce What You Store
- Step 3: Plan Zones Around Daily Needs
- Step 4: Add Vertical Storage Without Major Construction
- Step 5: Use Organizers to Maximize Existing Shelf Space
- Step 6: Improve Visibility and Maintenance
- Common Mistakes
- Measuring too late
- Buying storage before decluttering
- Overloading the added hardware
- Using unclear, deep, or zippered bins
- Burying the everyday things
- Forgetting the ceiling gap
- Making changes you cannot undo
- Frequently Asked Questions
- What is the fastest way to improve closet storage without a remodel?
- Can I improve closet storage in a rental without making permanent changes?
- What storage solutions work best in a small or narrow closet?
- Do I need to install built-in shelves to get more closet space?
- How do I organize a closet so items stay easy to find?
- How often should I reset or reorganize my closet?
What You Need
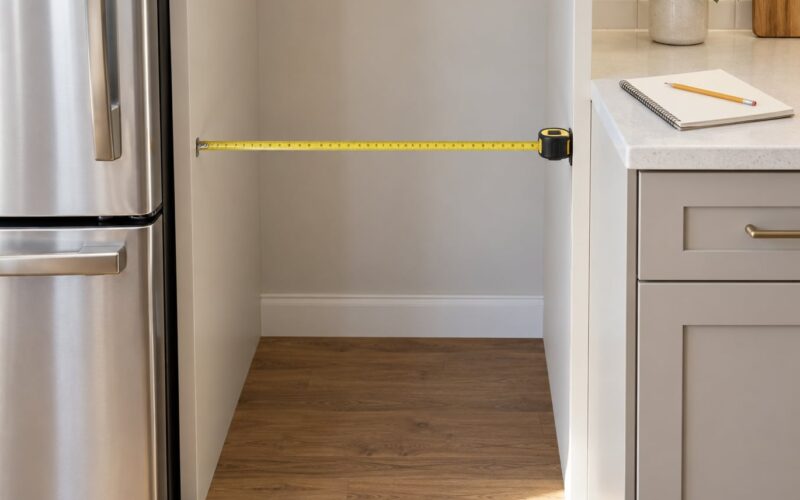
Start with the measuring kit, because the rest of the job depends on it. A 25-foot tape measure, a pencil, and a notepad are enough. Add a small phone photo of each wall, because closet corners are never square and photos capture the weird geometry better than numbers do.
For the physical work, keep it minimal: a step stool that lets you reach the top shelf without standing on a chair, a screwdriver, a stud finder, and a level. If you plan to add anything screwed into drywall, add drywall anchors rated for the weight you are hanging. Anything heavier than a few pounds belongs in a stud, not in an anchor.
On the storage side, buy nothing until step two is done. What you will likely need afterward: slim hangers in one color, shelf risers, clear bins sized to the shelf opening rather than the bin you found, a stack of S-hooks, and a small tension rod.
Safety gear is modest here. A headlamp or phone light beats a flashlight you have to hold in your teeth, and a helper for anything that goes above your reach. If you have small children in the house, plan on anchoring any tall freestanding unit to the wall with an anti-tip strap before you fill it.
If you rent, check your lease before anything else. Many leases ban drilling outright, and a few require written approval for anything mounted to a door or wall. Adhesive hooks and tension-mounted pieces avoid the question entirely.
Step-by-Step: How to Improve Closet Storage Without a Remodel
The sequence below is ordered on purpose. Each step makes the next one easier, and skipping ahead is how people end up with shelves that do not fit and rods that sag. Most closets take an afternoon to assess and a weekend to upgrade.
Step 1: Measure the Closet and Identify the Storage Problem
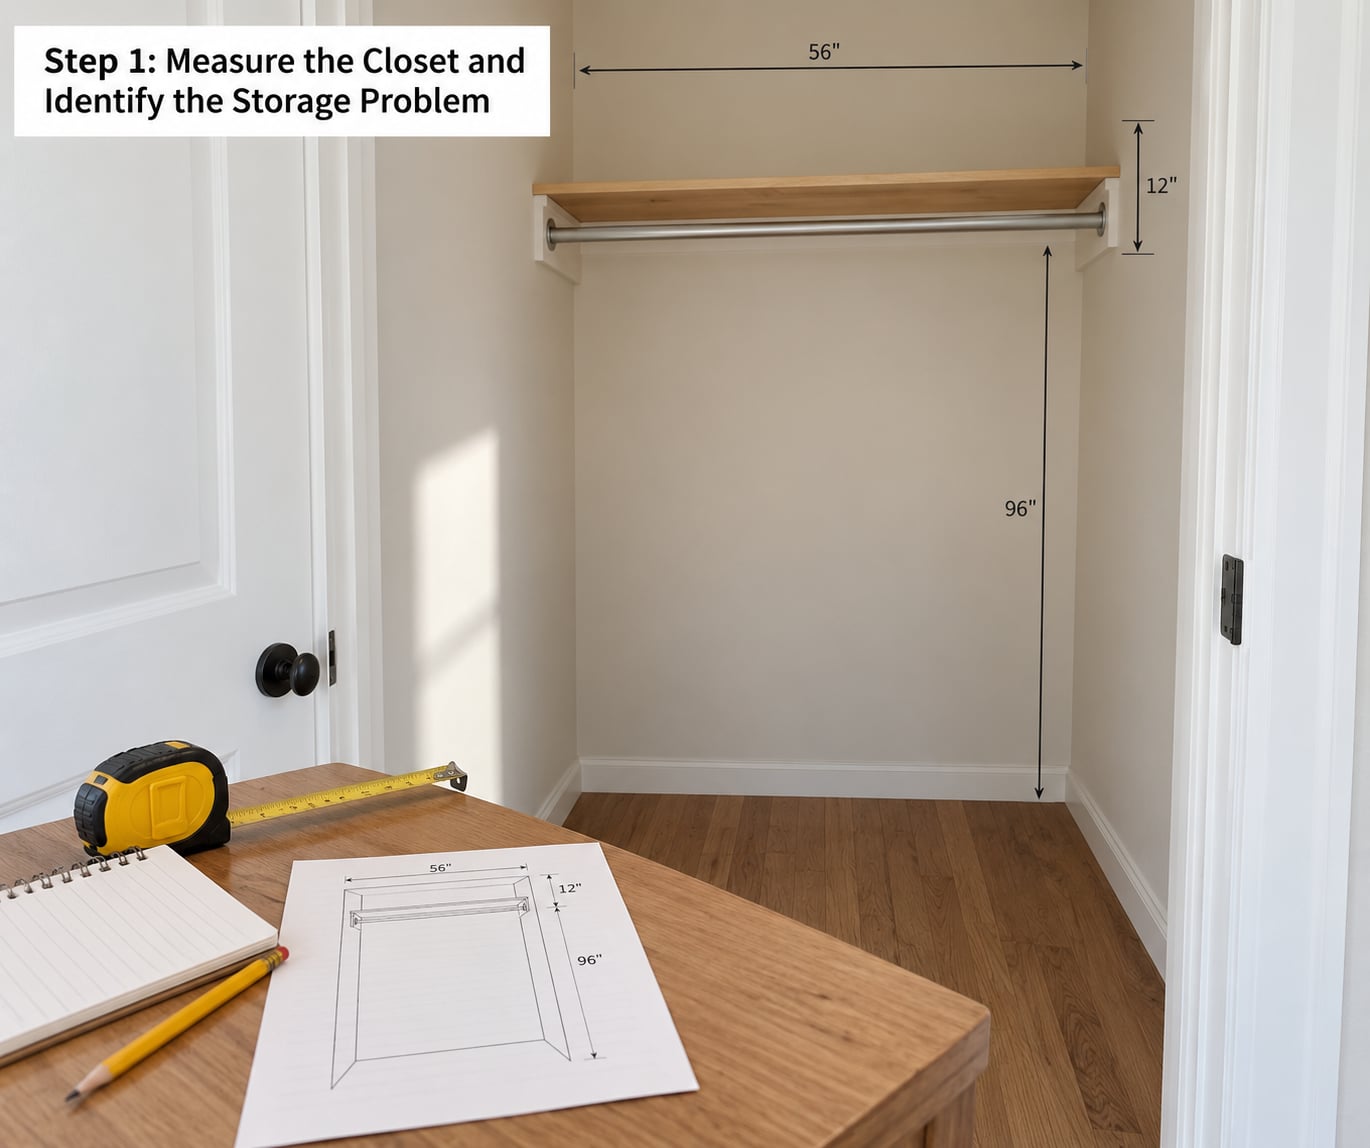
Measure width at the back wall and again at the opening, then depth from the wall to the door, then floor-to-ceiling height. Write down where the rod sits, where the shelf sits, and how much clear air is above the shelf. Also note which way the door swings or slides, because that decides whether over-the-door storage is even possible.
Then look at the numbers with a critical eye. A reach-in closet that is 24 inches deep fits a standard wire shelf comfortably and almost nothing deeper. A closet with only one rod and a shelf at the ceiling is wasting the single easiest win available. A rod running side to side in a deeper closet can often be repositioned front to back, which is where the capacity jump comes from.
Finish by photographing each wall and listing what is actually in the closet, not what you assume is in there. I have been surprised more than once by a closet that was not full but crowded, which meant organizing, not adding, was the actual fix.
Step 2: Remove, Sort, and Reduce What You Store
Take everything out. This is the least enjoyable hour of the project and the one that pays for the rest of it, because every organizer you add afterward is sized to a smaller, edited collection.
Sort into four groups: keep, relocate, donate, discard. A simple rule that works well is to keep what you have worn in the last year, plus what fits you now and what has real sentimental value. Everything seasonal goes to relocate. Anything you have not touched since you moved in goes to donate or discard.
Look for the quiet duplicates. Nobody misses the third nearly identical grey t-shirt, and boxed-up clothes from a former life are the most common thing I find in overstuffed closets. Be honest about the coats and sweaters too, since bulky knits eat rod space faster than anything else you own.
Step 3: Plan Zones Around Daily Needs
Group by use and frequency rather than by category alone. The clothes you wear every day go in the most reachable zone: between roughly hip and shoulder height, closest to the door. Seasonal and special-occasion pieces go high or low, where you can reach them with a step stool and not more.
Give shoes their own zone rather than letting them consume the bottom of the hanging area. In a shared closet, split left and right by person, and agree on one zone each for the shared items like jackets and workout gear. Two people dividing a small closet horizontally keeps the negotiation short; splitting it left and right means you are constantly rearranging.
Keep one zone deliberately empty. A closet packed to the ceiling has no room for the coat you buy in November, and the first thing to go when people are tired is the empty margin.
Step 4: Add Vertical Storage Without Major Construction
The biggest wins are vertical. Start with the gap between your top shelf and the ceiling, which is often 10 to 14 inches of usable air holding nothing.
- Second hanging rod. A tension-mounted rod or a chain-and-S-hook rig gives short garments a second row. Weight is the concern here: hanging heavy coats and sweaters from added hardware can pull drywall anchors loose or bow the wall, so check that the anchors are rated and that you are not loading the extra rod with your heaviest items.
- Tension rod shelf. A small shelf that clamps between the side walls adds a shelf without touching the drywall at all, and it comes out in a minute.
- Narrow shelving or cube units. Freestanding units give you adjustable tiers that you can slide out when you need floor access. They are renter-friendly and completely reversible.
- Over-the-door organizers. A hook-and-shelf unit or a mesh hanging organizer turns the back of a swinging door into a full wall of storage. It only works with a hinged door; sliding and pocket doors rule it out.
- S-hooks and wall-mounted racks. S-hooks on a rod hold tank tops, scarves, and belts. Adhesive-backed racks on the side wall hold bulky knits that would otherwise take four hangers.
If you own the place and want more permanent capacity, an adjustable wall-mounted shelving system anchored into studs is a half-day job with a stud finder and a drill. It is still not a remodel, but it is no longer reversible, so it sits in a different category.
Step 5: Use Organizers to Maximize Existing Shelf Space
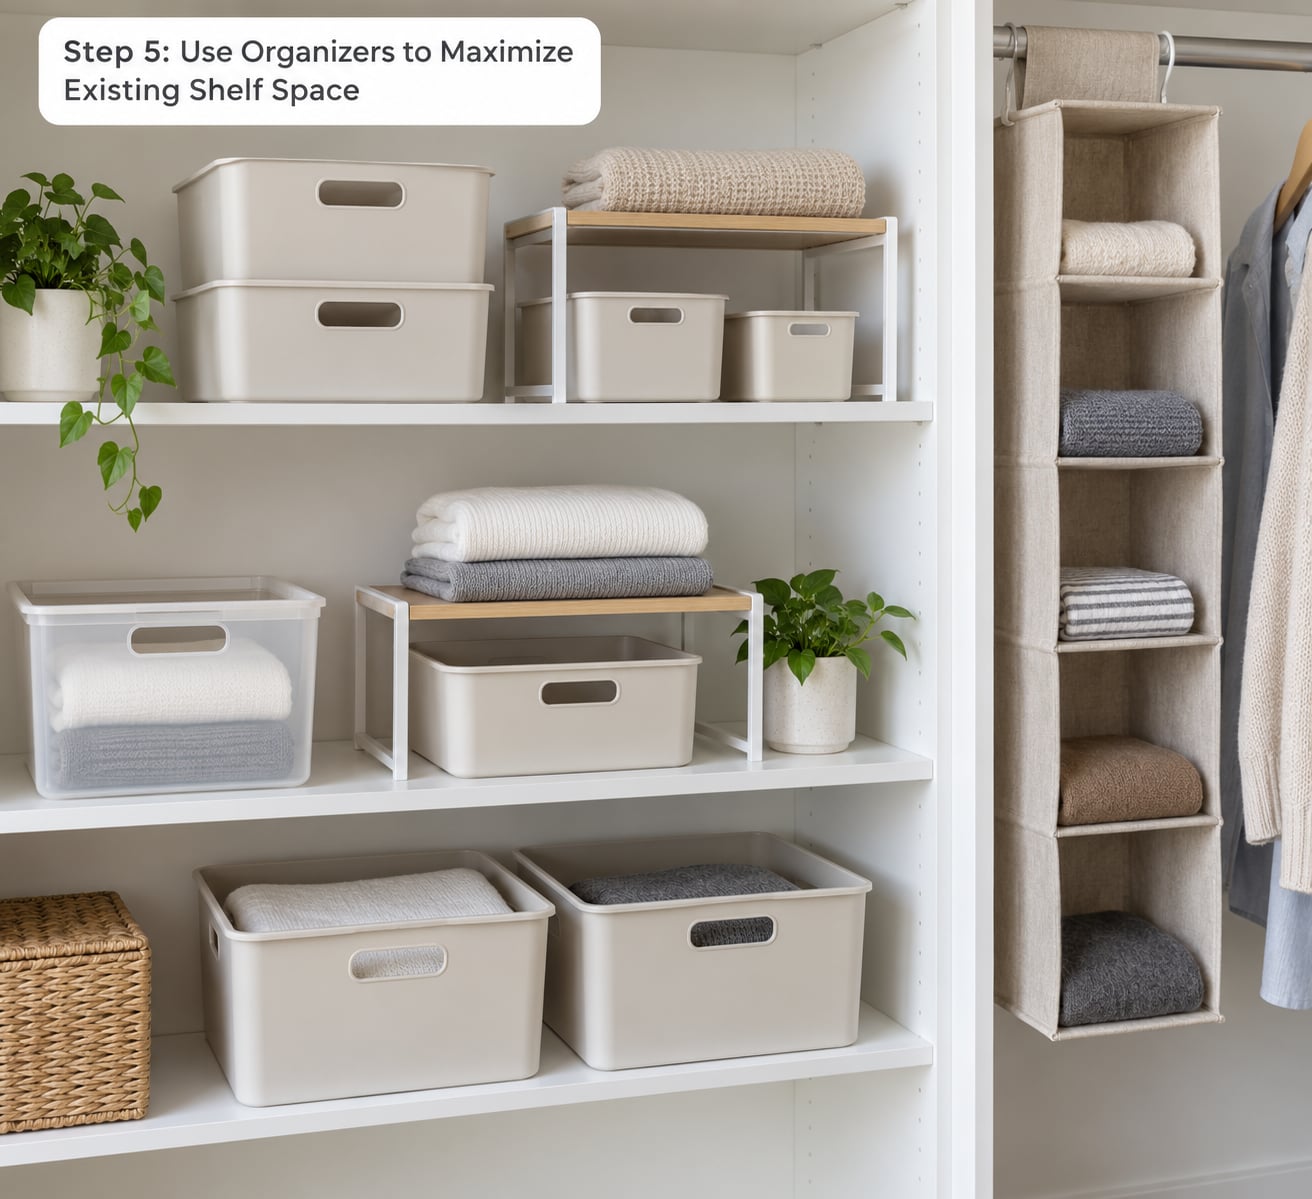
Once the closet is empty and sorted, the existing shelf suddenly looks like a wide, flat, wasteful surface. These are the fixes that use it better.
- Shelf risers. A riser lifts folded stacks to create a second layer of usable space inside the same shelf height. This is the cheapest capacity increase available.
- Shelf dividers. Break one long shelf into sections so sweaters stack upright instead of lying in a stack that collapses every time you pull one out.
- Bins sized to the opening. Measure the gap first, then buy to it. Clear, open-front or lidless bins beat zippered fabric bags for daily items, because you are not wrestling a zipper every time you want a shirt.
- Hanging closet organizers. These add usable tiers around the rod without a second rod, and they are removable.
- Drawer dividers. The single most effective fix for a drawer where everything slides into one pile.
Whatever you choose, keep the containers in a small number of widths so you can swap them between shelves and seasons. Mixed sizes defeat the whole system on the first reorganization.
Step 6: Improve Visibility and Maintenance
A closet you cannot see into is a closet you will avoid. Motion-activated LED strips or a battery puck light cost almost nothing and change the way you use the space, because you can actually see the back of the shelf.
Label the zones rather than the individual items. A label on each bin that holds mixed categories, like “winter under the bed,” keeps the off-closet storage honest, since the storage you cannot see is the storage you will forget about.
Then build a maintenance habit that takes ten minutes. Every season, pull out the off-season bin, wipe the shelf, and check whether anything has gone unworn for a full year. People who edit twice a year rarely have to do a big purge at all, and the closet stays usable between resets.
Common Mistakes
Nearly every disappointing closet project comes down to one of these.
Measuring too late
Buying organizers before you have measured the shelf opening is the most common and most expensive mistake. Containers that are even an inch too wide cannot slide in, and nonstandard widths cannot be swapped later. Measure first, buy second.
Buying storage before decluttering
New shelves over a full closet just give you two layers of the same problem. Edit down first. If the closet feels manageable after sorting, you may need only two or three organizers instead of a full set.
Overloading the added hardware
A second rod, tension shelf, or set of adhesive hooks has a real load limit. Heavy coats, denim, and bags of blankets are not the right weight class for drywall anchors. Anchor into a stud or move the load to a shelf rated for it, because a pulled anchor drops whatever was hanging on it.
Using unclear, deep, or zippered bins
A bin you cannot see into becomes the place things disappear to. Use clear or open bins for daily items and skip the zippered fabric organizers for anything you reach for more than once a month.
Burying the everyday things
Seasonal gear at eye level and daily socks at the back of a deep bin is backwards. Weight of use decides position, and putting it the other way around is what makes people think they need more closet space when they do not.
Forgetting the ceiling gap
Most people start at eye level and never look up. The air above an existing shelf is the cheapest square footage in the room, and it is where a riser or a shallow cube unit earns its place.
Making changes you cannot undo
Drilling, patching, and painting turn a reversible improvement into a project with a landlord conversation attached. If you rent, or even if you might move in a few years, choose tension-mounted and freestanding options and save the drilled work for a place you own.
Frequently Asked Questions
What is the fastest way to improve closet storage without a remodel?
Edit down what you own first, then add vertical tiers that are reversible. In most closets the quickest win is a second hanging rod for short garments plus a riser on the existing shelf. Both come out with basic tools and leave no holes in the wall.
Can I improve closet storage in a rental without making permanent changes?
Yes. Tension rods, over-the-door organizers, S-hooks, freestanding shelving units, and adhesive-backed racks all work without drilling. Check your lease first, since some restrict mounting or door-mounted items. Keep everything removable and you can restore the closet to its original state in an afternoon.
What storage solutions work best in a small or narrow closet?
Narrow vertical options win in shallow closets: tension rod shelves, slim hanging organizers, over-door mesh units, and cubby towers that fit a 24 inch deep space. Skip wide baskets and deep shelves, which waste the depth you cannot spare. Measure the opening first and buy containers to that width.
Do I need to install built-in shelves to get more closet space?
No. Most of the capacity in a default closet is unused air above the shelf and along the walls, and removable hardware claims a good share of it. Built-ins make sense when you own the space permanently and your clothes have outgrown every non-permanent option.
How do I organize a closet so items stay easy to find?
Store by frequency of use, with daily wear between hip and shoulder height and seasonal pieces at the extremes. Use clear or open bins for anything you reach for often, label the zones, and keep one section open for new purchases. Position, not category, is what makes retrieval fast.
How often should I reset or reorganize my closet?
Twice a year, timed to the season change, works well for most households. Pull out the off-season bin, wipe the shelves, and remove anything unworn for a full year. Ten minutes every six months prevents the slow pile-up that turns a weekend project into a lost weekend.
Start with an afternoon of measuring and sorting, not with a shopping cart. Once the closet is empty you will know exactly which single upgrade pays off, whether that is a riser, a second rod, or just moving half your clothes to under-bed bins. Add the pieces over a weekend, keep a label on each zone, and the space stays working for years.