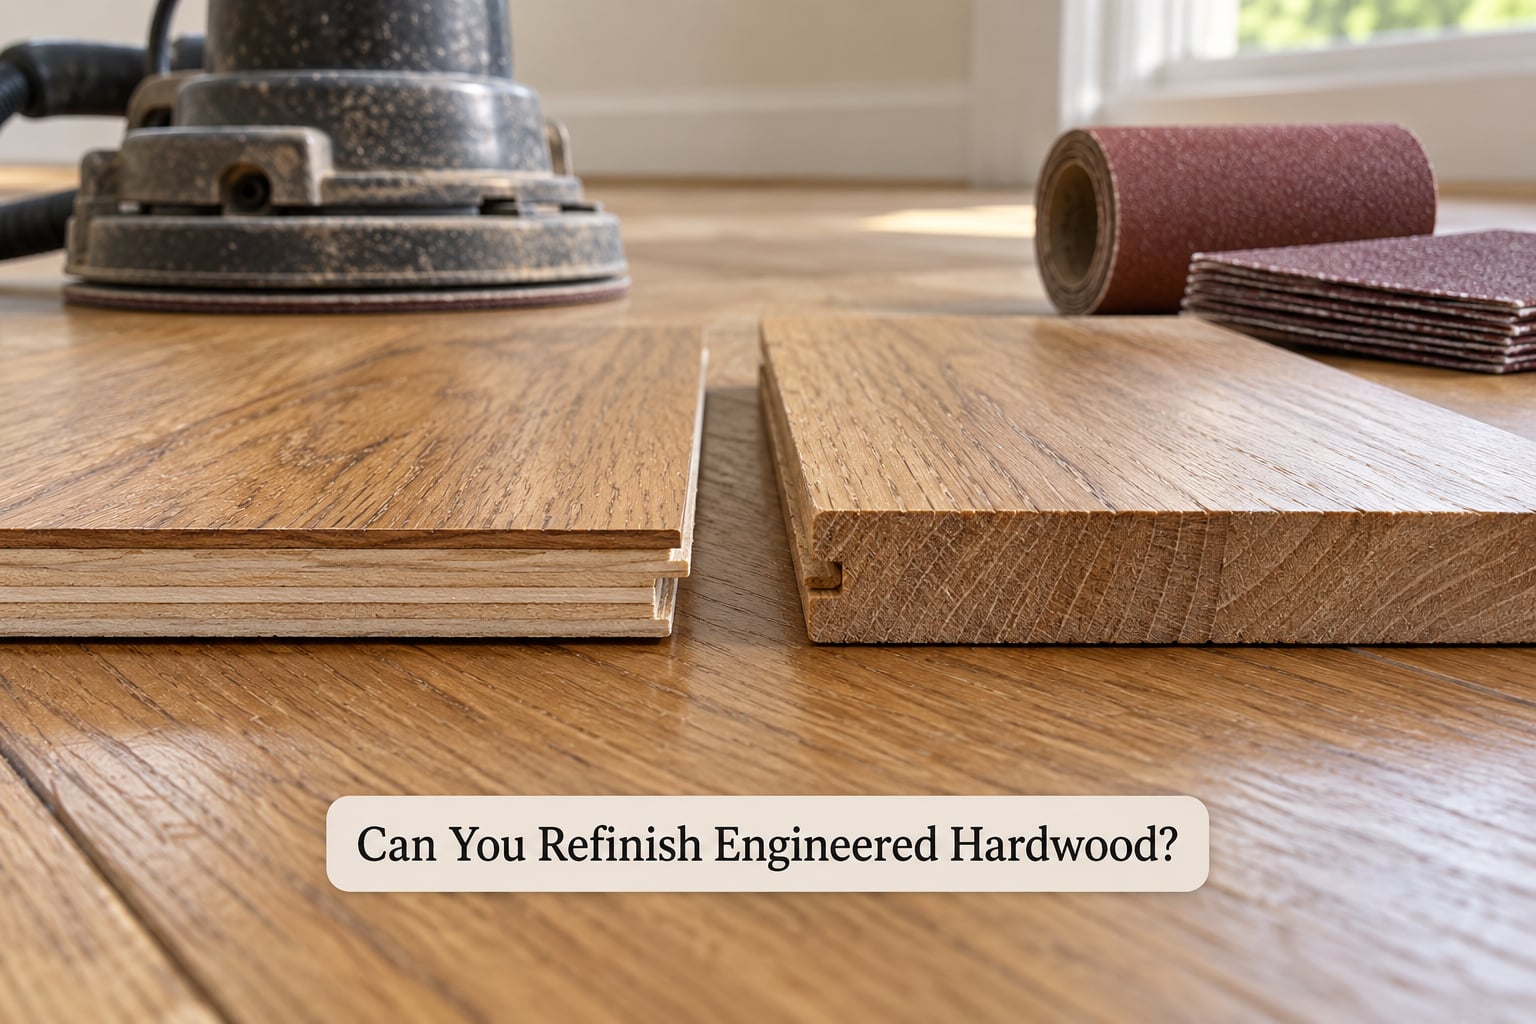
Yes, you can refinish engineered hardwood, but the answer depends entirely on the thickness of the top real-wood layer. A typical refinish sands off about 0.75 to 1mm of surface, and that wear layer is the only part of the floor you can ever remove. Thicker veneer means more refinishes; a thin veneer means a recoat is your only realistic option.
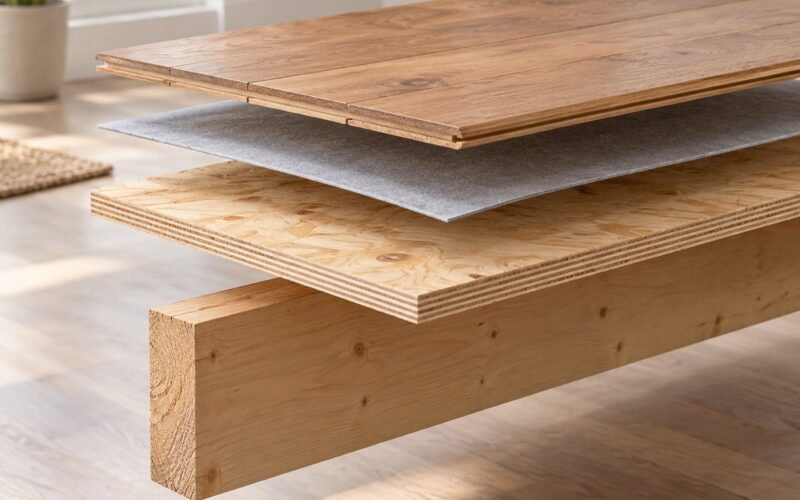
Engineered flooring is a real wood veneer, usually oak, maple or hickory, glued over a plywood or high-density fiberboard core. Sanding past the veneer exposes the core and permanently ruins the board, which is why knowing your floor’s construction before you rent a sander matters more than the sander itself.
Table of Contents
- Can You Refinish Engineered Hardwood?
- How to Tell What Kind of Engineered Hardwood You Have
- Check 1: Look at the end grain of an exposed plank
- Check 2: Lift a plank in an out-of-the-way corner
- Check 3: Find the spec sheet
- Check 4: Screen the floor for problems first
- Why the Wear Layer Matters
- Can You Refinish Engineered Hardwood Without Sanding?
- How to Refinish Engineered Hardwood
- Step 1: Prepare the room
- Step 2: Screen the entire floor before sanding
- Step 3: Sand with an orbital sander, not a drum
- Step 4: Stain, if you are changing colour
- Step 5: Seal and let it cure
- How Much Wear Layer Should You Leave?
- When Refinishing Is Not Worth It
- How to Refinish a Small Area
- How to Choose a Refinishing Product
- How to Find a Flooring Professional
- Frequently Asked Questions
- Can you refinish a 2mm wear layer engineered hardwood?
- How thick should the wear layer be on engineered wood?
- Is a 2mm wear layer on engineered hardwood good?
- Is it cheaper to refinish engineered hardwood or replace?
- Can you refinish engineered hardwood floors without sanding them?
- Can you change the color of engineered hardwood?
- Conclusion
Can You Refinish Engineered Hardwood?
Three words get confused here, and each one costs you something different to fix.
Refinish means sanding the floor back to bare or near-bare wood, then staining and sealing it. This is the only option that changes colour or removes deep damage, and it is the one that costs you veneer.
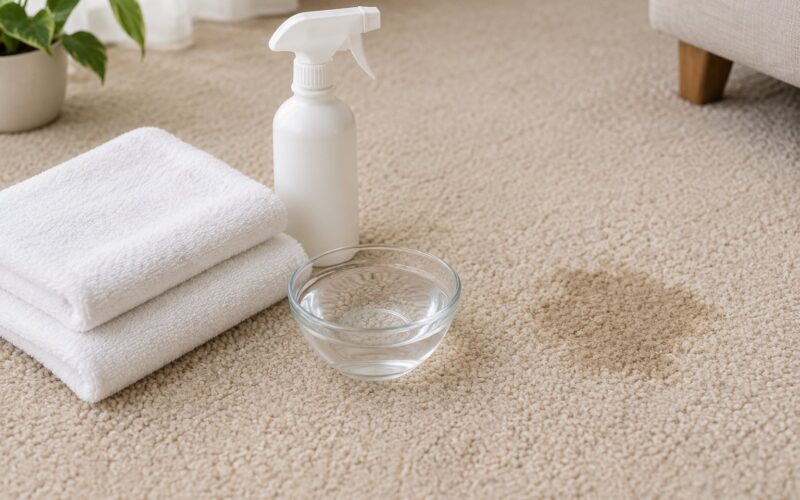
Recoat means abrading the existing finish with a screening pad and applying a fresh coat of polyurethane on top, no sander, no bare wood. It restores sheen and light scuffs, and it can be repeated several times.
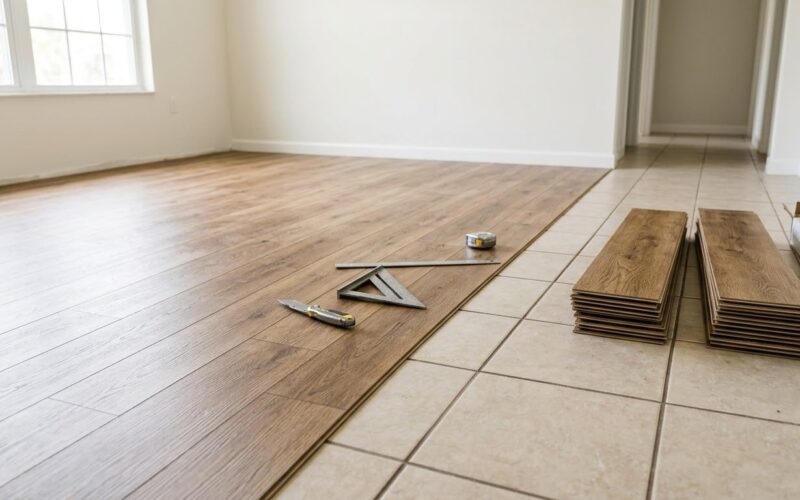
Replacement means pulling boards. Either swapping the handful of damaged ones, which floor people call a board swap, or removing the whole floor and starting over.
Solid hardwood can usually be refinished eight to ten times across its life. Engineered hardwood gets a small fraction of that, and floors with a veneer under 1mm may not be sandable at all without exposing the core.
How to Tell What Kind of Engineered Hardwood You Have
Find out what you have before you plan anything. There are four checks, and they take about twenty minutes together.
Check 1: Look at the end grain of an exposed plank
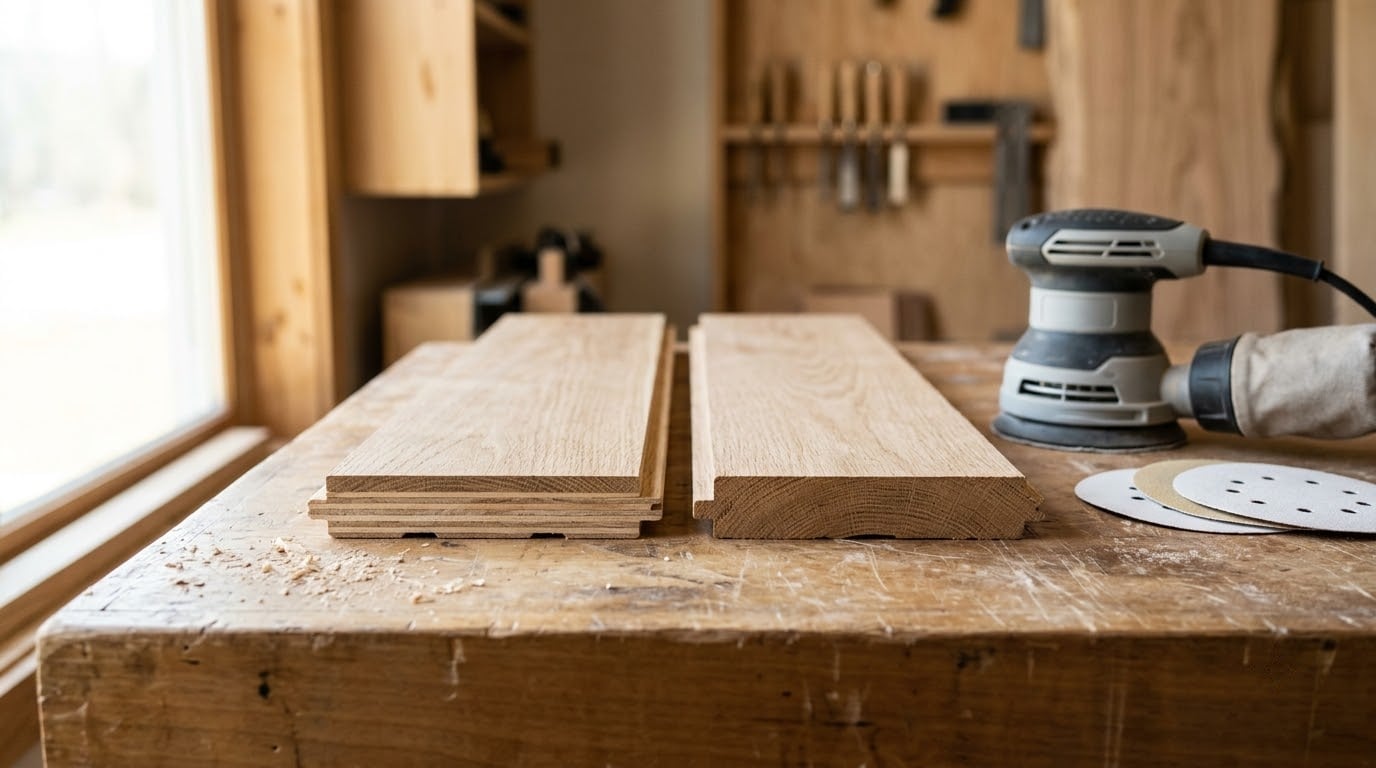
Lift a threshold plate, a baseboard or the end of a plank in a closet, hallway or doorway that gets the least traffic. The cut end shows the layers in cross-section: a thin strip of real wood on top, then the layered core beneath it. That top strip is your wear layer.
Check 2: Lift a plank in an out-of-the-way corner
If the tongue-and-groove edge lifts without damage, you can measure the veneer directly with a small ruler or calipers. Measure the real wood, not the total plank thickness. A 3/8 inch engineered plank is mostly core, which is exactly why total thickness tells you nothing.
Check 3: Find the spec sheet
Check the flooring box, the subfloor paperwork in your closing documents, or the manufacturer’s installation instructions for the wear-layer figure. Manufacturers list this because it sets their refinishing warranty terms.
Check 4: Screen the floor for problems first
Before sanding anything, walk the floor and look for these. Deep water staining or mineral deposits that have darkened the wood. Delamination, where the veneer has separated from the core in a flake or bubble. Cupping or warping, where boards lift at the edges or rock underfoot. Uneven wear, where traffic lanes have already gone thin.
If any of those show up, stop. Refinishing a floor that moves or has water damage under the finish just buys you a season.
Why the Wear Layer Matters
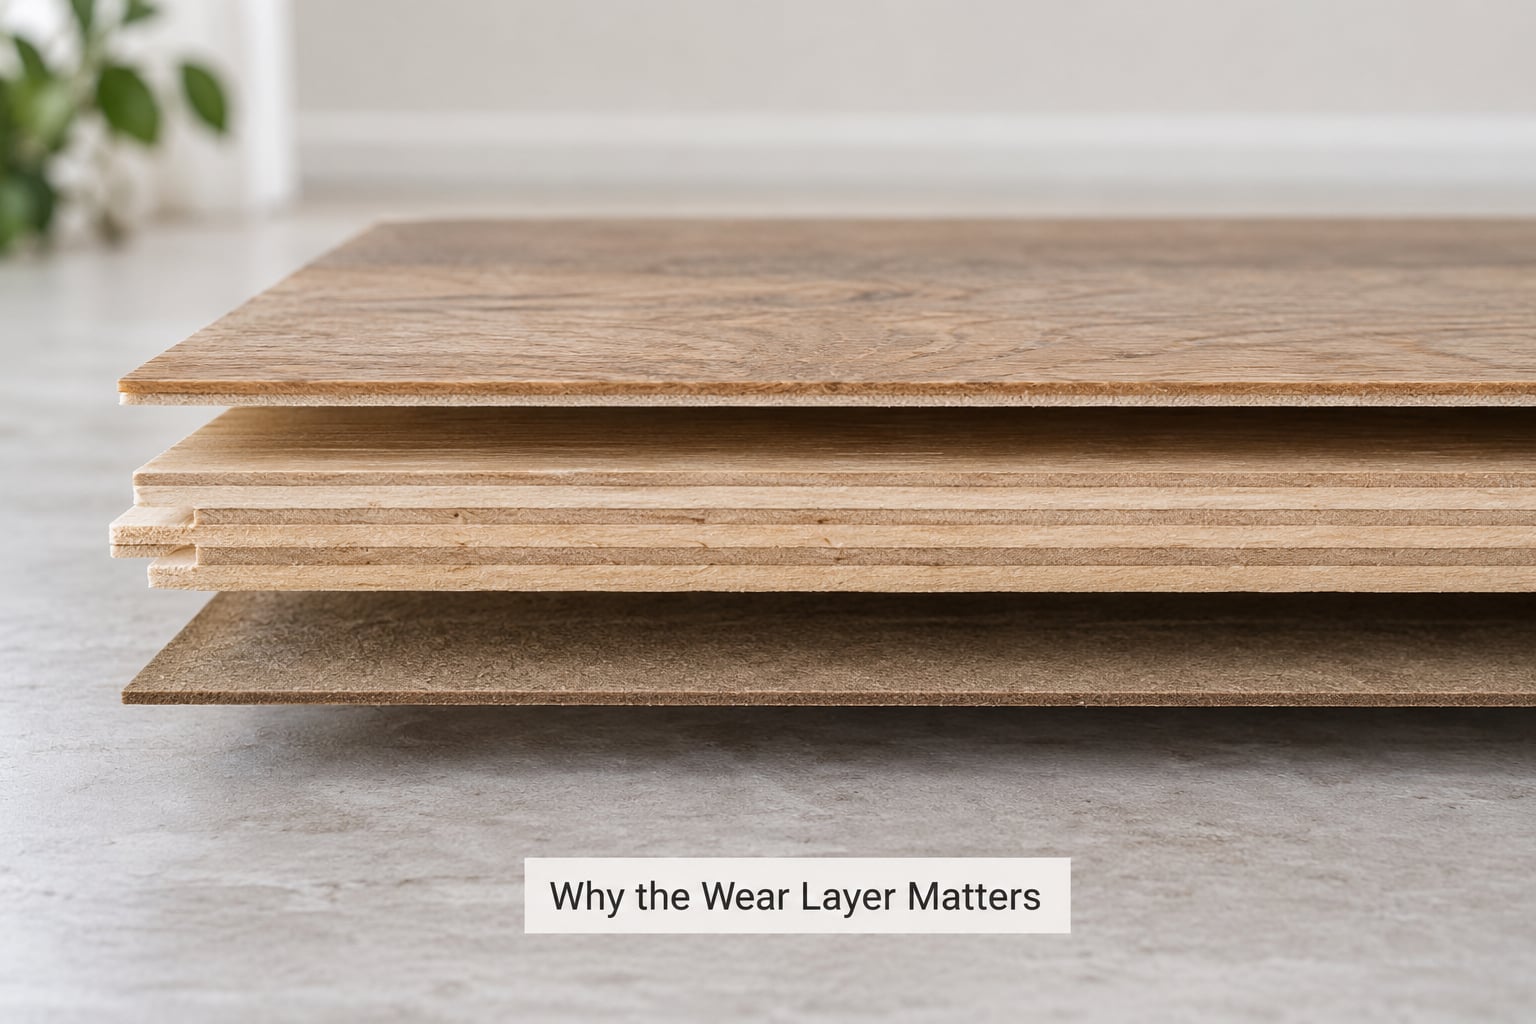
The wear layer is the whole ballgame. Refinishing removes roughly 0.75 to 1mm per pass, so the thickness you measured earlier divided by that number gives you your realistic refinish count.
| Wear layer thickness | Approximate refinishes | Realistic verdict |
|---|---|---|
| Under 1mm, often 0.5 to 1mm | None | Recoat only. A single sanding pass reaches the adhesive or core. |
| 2mm | 1 to 2 | Workable, but you have no margin for a heavy-handed pass. Treat the first coat as your last. |
| 3mm | 2 to 3 | Comfortable for a careful single refinish with room to spare. |
| 4mm and up | 3 to 6 | Thick veneer. Owners of these floors report repeated successful refinishes. |
Two millimetres is the practical minimum most flooring professionals will work with, and many treat it as a hard rule rather than a target. If your measurement lands just above that line, plan on one refinish, not two.
Another limit gets ignored: sanding removes the micro-bevel and can shave the tongue-and-groove profile off the plank edge. Once the edge profile is gone, boards stop seating the way they were designed to. Hand-scraped and deeply textured floors are worse off still, because the sander reaches the bottom of every groove at the same level the wear layer wears at.
Can You Refinish Engineered Hardwood Without Sanding?
Often, yes, and this should be your first move. A screen-and-recoat is not a full refinish, and on a thin-veneer floor it is often the only treatment the floor will ever accept.
A recoat works when the existing finish is still sound underneath. You want surface scuffs, a dull or hazy sheen, fine scratches from foot traffic, and slight fading. You do not want deep gouges that go past the finish into bare wood, because a screen-and-recoat cannot fill a hole in the veneer.
The process is simple. Vacuum and clean the floor thoroughly, abrade the old finish with a screening pad, vacuum the dust off again, and roll on a fresh coat of polyurethane. Sheen comes back in one afternoon and you can walk on it the next day.
Cleaners and polishes are a different thing. Polishing compounds and oil treatments can make a dull floor look better for a few weeks, and wax adds a sacrificial shine that needs reapplying. Neither restores a floor whose finish has actually worn through, and neither removes scratches.
Community advice on flooring forums is consistent on the order of operations: buff-and-coat first, sand only when damage goes deep. It costs a fraction of a refinish and it does not spend any veneer.
How to Refinish Engineered Hardwood
Once you know the veneer can take it, the process follows a fixed sequence. On engineered flooring, the sander choice matters more than it does on solid wood.
Step 1: Prepare the room
Move furniture, rugs and drapes out. Seal off doorways with plastic sheeting and tape at the top edge. A dust containment system that clamps to the sander and connects to a vacuum keeps grit out of the rest of the house.
Step 2: Screen the entire floor before sanding
Run a floor scraper over the whole surface and knock down any finish that is flaking or cupped. Then use a punch and nail set to drive any proud nails or screws below the surface, because the sander will catch every one of them.
Step 3: Sand with an orbital sander, not a drum
Use a lightweight random orbital sander and stay off the drum sander. Drum sanders remove material very fast and very evenly across the plank, which is precisely wrong for a thin veneer. A common grit sequence starts at 100 to 120, moves to 150 to 180 if the first pass is still showing scratches, and finishes at 220 grit before the finish goes on.
Always work with the grain direction of each board and keep the sander moving. Edges and corners get done by hand with a detail sander or a sanding block. Vacuum between every pass.
Step 4: Stain, if you are changing colour
Test the stain on a board in a closet first, and expect to test two shades before you find one you like. Thin veneer is unforgiving: stain will darken the early wood more than the late wood, and going lighter means bleaching first, which strips more surface than many people expect.
Step 5: Seal and let it cure
Fill nail holes and small gouges with a wood filler matched to the tone, sand the filler flush, then apply your finish in even coats following the manufacturer’s spread rate. A satin or semi-gloss water-based finish needs no scuffing between coats, while oil-based polyurethane typically needs a 220-grit abrading pass between each coat.
Cure time is not the same as dry time. Expect to keep foot traffic off the floor for 24 to 72 hours, put furniture back on felt pads rather than plastic feet, and hold off on rugs for about a week.
How Much Wear Layer Should You Leave?
The useful question is not how much you can remove but how much you want remaining when you are done. On a 2mm veneer, a careful refinish that removes 0.75mm leaves roughly 1.25mm of usable wood behind you. That is enough for stain to bite and finish to hold, and it is enough to do it again later if the floor survives the next decade.
Going deeper does not buy you a better floor. It buys you fewer future options, and once you are near the glue line, stain stops bonding reliably and the finish starts to bubble or peel.
This is the moment to pay for a professional inspection. If the floor is old, valuable, already sanded once, or has an unknown wear layer, an hour of someone’s time reading your end grain is cheaper than replacing a floor you sanded through.
When Refinishing Is Not Worth It
Some floors have already spent the veneer they had. These are the cases where sanding is the wrong call.
The wear layer is unknown and thin, or the vendor cannot tell you. A floor with a veneer barely thicker than its micro-bevel has nothing to spare. Delamination is spreading. Water damage has stained or swollen the boards, since stain will telegraph back through a new finish. The floor cups, warps or rocks underfoot, because unevenness comes from board replacement or subfloor work, not from sanding. Plank thickness varies across the room, so a uniform pass reaches bare core in some spots and leaves finish in others. Or the whole floor needs a colour change to a lighter shade, which requires bleaching and removes more veneer than a refinish.
In those cases, a board swap or full replacement usually costs less than you think. Swapping boards means removal without demolition, and if the floor came from a single production run there is a real chance of a close match. Wholesale removal and replacement is the last option, but on a thin-veneer floor with structural problems it is the honest one.
How to Refinish a Small Area
When one room is damaged and the rest of the floor is fine, a full refinish is usually overkill. A spot repair is more delicate but far less disruptive.
The trick is feathering. You sand the damaged area with a progression of grits, and with each finer grit you widen the working area outward so there is no hard edge where new finish meets old. Finish the blending with a fine screen or pad, feather out about 18 inches past the repair, then apply the new coat in the same sheen as the existing floor.
Matching colour is the hard part. Aged floor finish shifts amber over time, so a fresh coat in the same colour will look lighter and yellower next to the old surface. Either spot finish the whole room so the sheen matches everywhere, or accept a visible boundary.
For a single damaged room, a better answer is usually finding a same-batch board, swapping it in, and then recoating that room so the new board matches the old ones. That is why keeping a spare board or two from installation pays for itself.
How to Choose a Refinishing Product
Two decisions drive everything: which finish family, and which sheen.
Water-based polyurethane dries fast, cleans up with water and stays clear so the wood colour does not shift amber. Its trade-off is it raises the grain slightly and takes a few extra days to fully cure. Oil-based polyurethane goes amber, which warms up oak and maple, handles heavy traffic well and needs a full day before you can recoat, with stronger ventilation needs during application.
On sheen, more reflective means more scratch-hiding. Matte shows every scuff, satin is the practical middle, and gloss hides the most because light scatters instead of reflecting a distinct reflection.
Check three things before you buy. Whether the flooring manufacturer approves recoating or refinishing their product, since factory finishes, often aluminum oxide, may not accept new stain or bond well. Whether your ventilation can handle the finish you picked, which matters most for anything oil-based or solvent-borne. And whether you want to change colour, because stain adhesion on an existing finish is unreliable on thin veneer and factory-coated surfaces.
How to Find a Flooring Professional
Engineered hardwood is a specialty, and plenty of general floor sanders learned their trade on solid wood. Ask these questions and listen to how specifically the answers come back.
How many engineered floors with your veneer thickness have you done. Will they assess the wear layer on site before starting, and what do they do if they find it thinner than expected. Which sander will they use, and is a drum sander off the table for your floor. How is dust contained, and what is their cleanup standard. Which finish do they apply, how many coats, and is there a written warranty on the finish itself. Can you talk to a homeowner whose floor had a similar wear layer.
Get the preparation, finish and cleanup terms in writing before work starts. A refinisher who hesitates when you ask about veneer thickness is telling you something.
Frequently Asked Questions
Can you refinish a 2mm wear layer engineered hardwood?
Once, carefully, with a random orbital sander. A typical refinish removes about 0.75 to 1mm, so a 2mm veneer leaves roughly 1mm after sanding. That is enough for stain and finish to bond, but there is no margin for a second pass. Many professionals treat 2mm as the minimum workable thickness and as a one-time option rather than a renewable one.
How thick should the wear layer be on engineered wood?
Two millimetres is the practical minimum for sanding, and three millimetres gives you more room to work. Under 1mm, which covers a lot of budget and some prefinished product, there is nothing safe to remove and a recoat is the only option. Four millimetres and up supports repeated refinishes across the life of the floor.
Is a 2mm wear layer on engineered hardwood good?
It is a good floor to own, and a marginal one to sand. Most 2mm products are built for use rather than for refinishing, and the finish has to stay intact for that reason. Recoating is the right treatment for most of its life. When you do sand it, treat it as a single refinish and find someone experienced before you start.
Is it cheaper to refinish engineered hardwood or replace?
Refinishing almost always costs less than full replacement, because you avoid demolition, disposal and new material. A board swap costs less still when only a few boards are damaged. Replacement wins only when the veneer is too thin to sand, the boards are structurally failing, or you want a colour and finish the existing floor cannot be brought to.
Can you refinish engineered hardwood floors without sanding them?
Yes, and you should try that first. A screen-and-recoat abrades the old finish and rolls on a fresh coat, which restores sheen and light surface scuffs without touching the veneer. It works when the existing finish underneath is still sound. It cannot fix deep gouges, pet claw marks that reach bare wood, or water damage, and it takes you further down the road before sanding becomes necessary.
Can you change the color of engineered hardwood?
Going darker is the safer direction. Stain needs to bond to wood, so a lighter colour means bleaching the surface first, and bleaching is harder on thin veneer than on solid. Factory finishes, often aluminum oxide, may not accept stain at all. Check the flooring manufacturer before you plan a colour change, because going light can cost you the last refinish the floor had left.
Conclusion
Your first move is identification, not sanding. Find the wear layer thickness from the spec sheet, the end grain of an exposed plank, or by lifting a board in a corner, then check what the flooring manufacturer says about refinishing their product.
If the existing finish is still sound, recoat it. If you need to sand, verify the veneer is at least 2mm, use an orbital sander rather than a drum, and sand a closet or a hidden corner first as a test patch before you commit the room.
Pay for a professional assessment when the floor is valuable, old, already refinished once, or has an unknown wear layer. An hour of reading your floor end grain costs a fraction of replacing it.