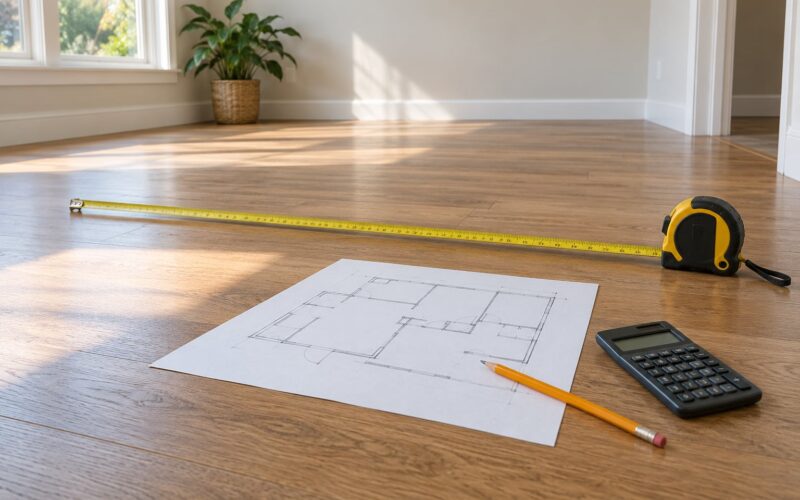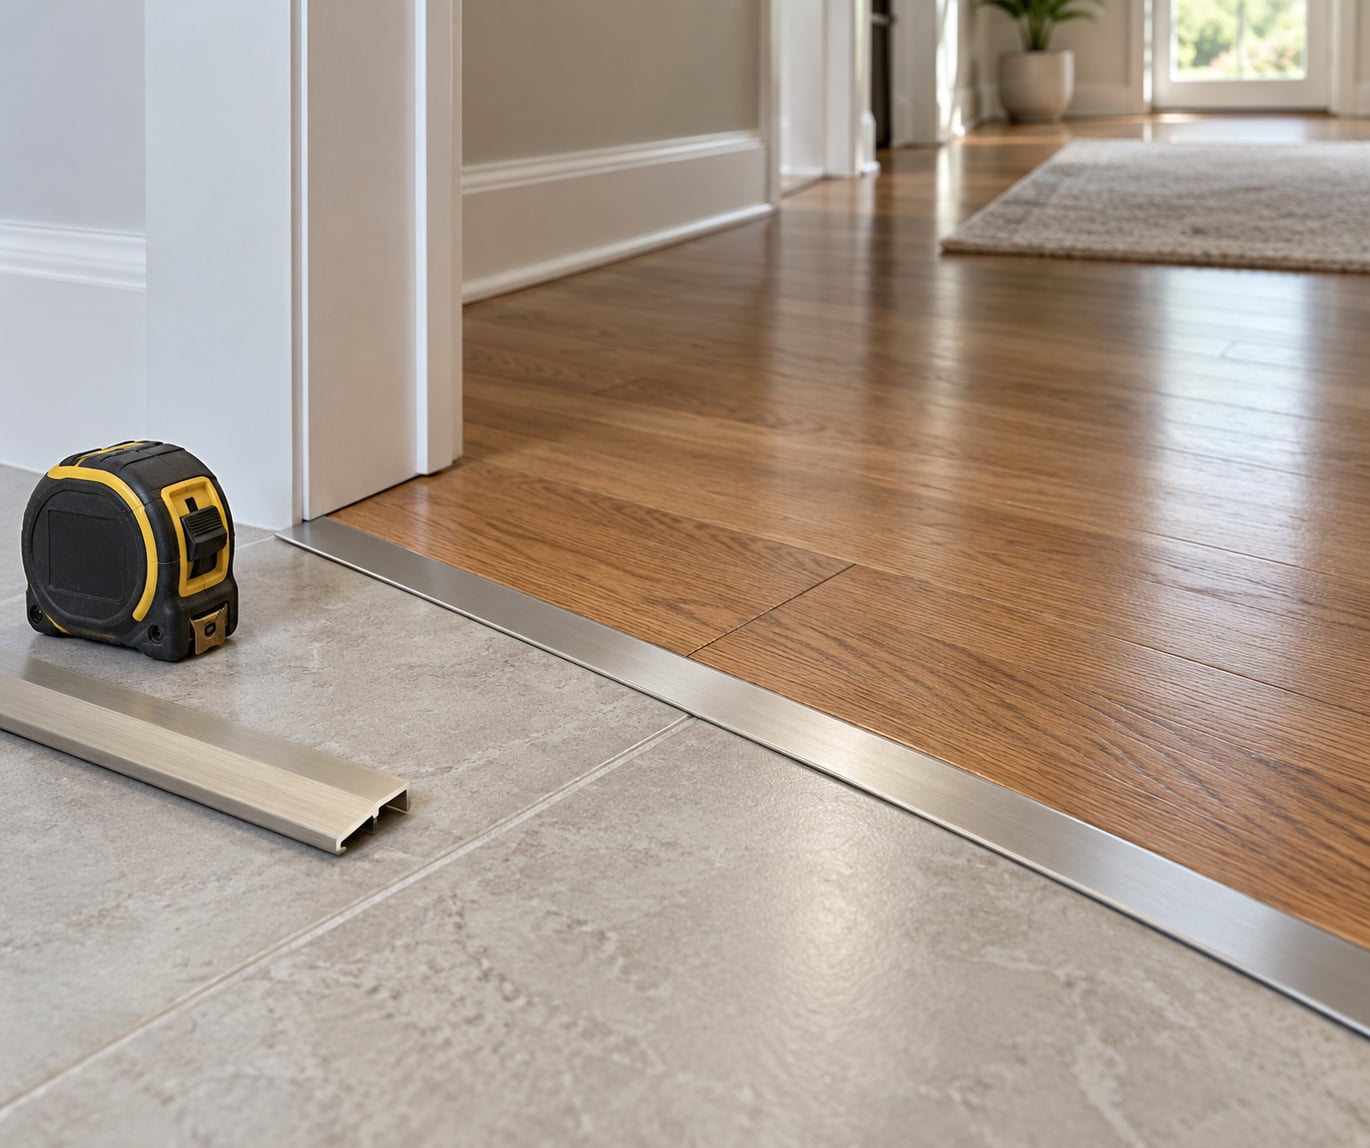
A transition strip is a narrow length of wood, metal or vinyl that covers the joint where two different floors meet. Getting transition strips between different floor types right means matching the profile to the height difference between the two surfaces, then fastening it to whatever is underneath. Most of these jobs take an afternoon, and the measuring is the part that decides whether the job looks professional or looks like a patch.
Most of the trouble I see comes from a sequence that is out of order. People pick the strip first, then force the joint to fit it. Measure first, choose second, cut third. If you hold that order, an awkward pairing like laminate meeting a slightly taller vinyl plank is a fifteen-minute fix instead of a redo.
Table of Contents
- What You Need
- Step-by-Step: How to Install Transition Strips Between Different Floor Types
- 1. Identify the two flooring types and the joint width
- 2. Choose a profile that works for transition strips between different floor types
- 3. Confirm the strip will fit and complete the floor preparation
- 4. Mark the layout and cut the transition strip
- 5. Apply the adhesive or attach the strip securely
- 6. Seat the strip, check the fit, and finish the joint
- Common Mistakes and How to Fix Them
- Frequently Asked Questions
- What is the strip between two different floors called?
- Should I use T-molding or a reducer strip?
- What if the gap is too narrow for a T-molding?
- How do I measure the height difference between two floors?
- Can I install a transition strip myself?
- Which transition strip works best on an uneven subfloor?
- Conclusion
What You Need

Most of this list is cheap and already in a garage somewhere. The two items people skip are a straightedge and a notched trowel, and both are the difference between a strip that sits flat and one that rocks.
- Tape measure for the joint width and the height difference at three points along the joint.
- Straightedge spanning the joint, to reveal dips and high spots before the strip goes down.
- Utility knife with a fresh blade, plus a square and a pencil for marking the cut line.
- Notched trowel if you are bedding the strip in adhesive, plus a construction-grade adhesive rated for your two floor materials.
- Tapping block and a rubber mallet for snapping or pressing a track system down.
- Countersink screws and a drill for screw-in profiles, or finish nails for wood strips into a wood subfloor.
- Spirit level, shims, and a scrap of plywood for addressing a joint that is not flat.
- Safety glasses and a dust mask if you are cutting fibreboard, MDF or aluminium profiles.
Step-by-Step: How to Install Transition Strips Between Different Floor Types
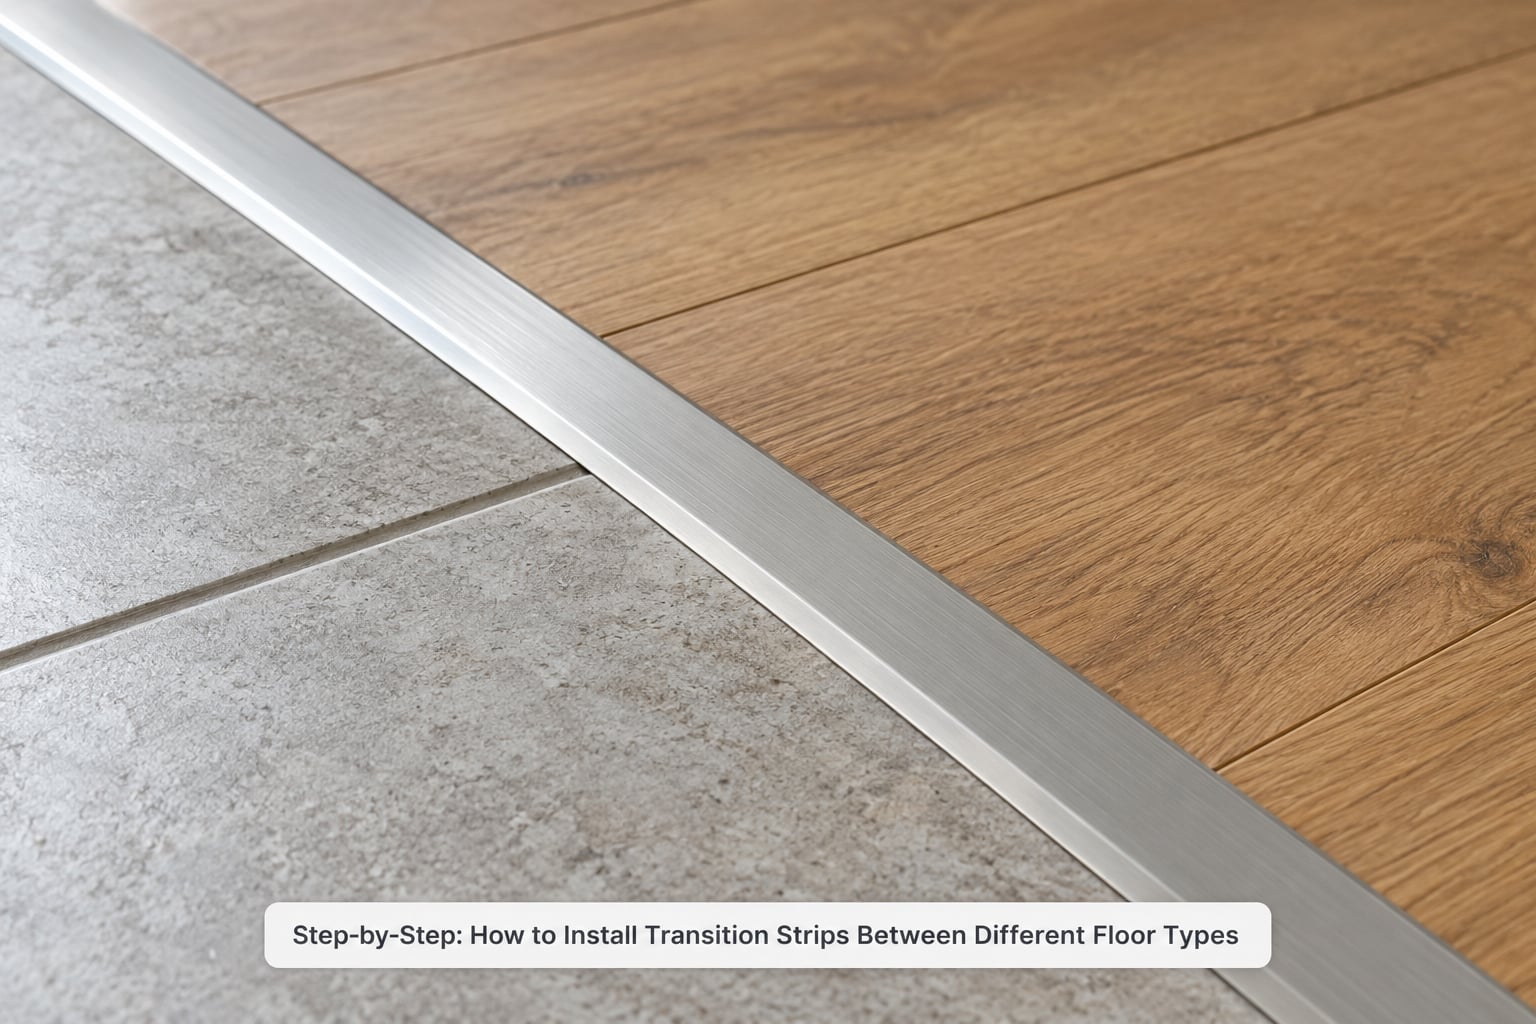
The sequence below works for most installations. How the strip is actually held down depends on the two flooring types, what is under them and which strip system you bought, so treat steps five and six as the flexible part.
1. Identify the two flooring types and the joint width
Write down what is actually on each side. Tile next to engineered wood behaves nothing like carpet next to laminate, and the two surfaces tell you how wide the joint needs to be and whether the higher floor can be trimmed back at all.
Measure the exposed gap at both ends and in the middle. If the three numbers disagree by more than about 1/8 inch, the framing or the subfloor under one side is out, and a strip cut to the narrowest reading will still leave daylight at the other end.
2. Choose a profile that works for transition strips between different floor types
Match the profile to the height difference, not to the room. A T-moulding handles two floors that are level to within about 1/4 inch, a reducer strip handles a difference of roughly 1/4 inch to 3/4 inch, and a ramp or overlap profile covers anything larger. A threshold is for a doorway opening rather than a mid-room joint.
- Level to 1/4 inch — T-moulding. Typical pairings are hardwood to laminate, or laminate to tile at a matched height.
- 1/4 inch to 3/4 inch — reducer strip, or a 4-in-1 overlap reducer. Typical pairings are laminate to carpet, wood to vinyl plank, and tile to wood.
- 3/4 inch and up — ramp or overlap reducer. Tile to carpet, or a raised subfloor meeting the main floor.
- Any difference, at an exterior door — threshold, often with a ramp on the inside edge so the entry stays walkable.
- Any difference, at a wall or fixed edge — end cap or end moulding. This is the profile for a floor that stops against a wall, a cabinet run or a fixed obstacle.
An overlap reducer carries a spike or nail strip on one leg, a carpet edge on another and a flat leg for hard surfaces, which is why it is the usual answer when laminate meets carpet. A pure T-moulding has no way to grip carpet or a thick underlayment.
3. Confirm the strip will fit and complete the floor preparation
Check three things against the joint you measured: the width of the strip’s top versus the gap, the finished height at the tall end, and whether the profile can bend. Rigid aluminium will not follow a curve, and a strip that is too wide sits proud of the surface on one side and leaves a gap on the other.
Then clear the joint. Vacuum and sweep out debris, scrape off old adhesive, and pull any nail or screw stubs that would hold the strip up. If the higher floor has an expansion gap underneath it, that gap is doing work and should not be filled solid.
4. Mark the layout and cut the transition strip
Measure the run along the joint, not the room, and add a small allowance so the strip finishes just past each obstruction. Transfer the measurement onto the strip, mark with a pencil and square off the cut with a fine blade on a wood or composite profile.
Test-fit before you fasten anything. If it rocks, take the cut back or shim the low spot rather than forcing the profile down. Cutting a millimetre or two long and tucking the end behind a wall return is far easier than replacing a chipped tile edge.
5. Apply the adhesive or attach the strip securely
Clean both surfaces first, then run a continuous bead of adhesive inside the profile footprint. Keep the bead inboard from the edges so nothing squeezes out onto the visible face, and lay the adhesive with a notched trowel so it does not slump on a taller side.
For screws, mark pilot positions on solid material rather than on the tile face. Where the higher floor is ceramic or porcelain, set the strip over the joint and fasten through a grout line, or bed the strip in thinset and countersink into the substrate. Screwed into the face of a tile, the fastener will show and can crack the body of the tile later.
6. Seat the strip, check the fit, and finish the joint
Press the profile down evenly along its whole length and walk along it with a tapping block, working from one end to the other. Wipe squeeze-out immediately with a damp cloth before it cures, and give any adhesive the cure time printed on the tube before you let foot traffic back on it.
Walk the finished joint both ways and check for movement, gaps, rocking or a raised edge. A strip that moves underfoot has not been fully seated, and one that rocks has a hollow underneath that needs filling, not more screws.
Common Mistakes and How to Fix Them
Measuring only one spot. Doorways and long hallway joints are rarely straight. Measure in at least three places and use the smallest reading to pick the profile width, then deal with any variation by shimming or by cutting the higher floor’s edge back where it will not be seen.
Picking the strip before measuring. This is the expensive version of the same error. Once the profile is in your hand you are committed, so the tape measure stays in your hand first.
Using a T-moulding on a real height difference. T-moulding is a cover, not a ramp. Force one over a 1/2 inch step and it either rocks or presents a toe-catch, which is exactly the concern that comes up repeatedly on DIY StackExchange threads about homes with small children.
Installing over an uneven joint. Lay a straightedge across the joint and look for daylight underneath. Fill hollows with a compatible filler, shim the high spot or switch to an adjustable or floating reducer that is designed to absorb a little variation.
Wrong adhesive for the pairing. Not every construction adhesive grabs carpet, and some are too rigid for a floating floor that needs to move. Check that the product is rated for both surfaces, and on a floating laminate or engineered floor use a construction adhesive rather than a hard-set contact cement.
Cutting the strip too short. A run that stops short of the wall leaves the joint exposed at both ends. Measure the full run plus the allowance, and if the strip is rigid metal, remember it cannot be trimmed usefully after it is fixed.
Failing to secure the edges. Adhesive alone will let go in a wet entry or a high-traffic hallway. Combine adhesive with mechanical fixing where the profile allows it, and if the carpet leg is doing the gripping, make sure its spike strip is buried in the underlayment rather than sitting on top of the pile.
One more worth knowing: if a door rubs the floor after you add a strip, the fix is to lift the hinge pins a few millimetres and shim them, not to trim the strip. Reddit homeowners moving between countries with unusually tight door gaps describe the same thing, where the only workable answer was to fill a narrow gap with colour-matched flexible caulk rather than add any height at all.
Frequently Asked Questions
What is the strip between two different floors called?
It is called a transition strip, also sold as transition moulding or a floor transition profile. It is a narrow length of wood, metal or vinyl that covers the joint where two floor coverings meet, hiding the expansion gap and the raw edge of the taller floor while ramping the height difference so feet pass without catching a lip.
Should I use T-molding or a reducer strip?
Use T-molding when the two floors are within about 1/4 inch of each other, because it is a flat cover rather than a ramp. Use a reducer strip when the difference runs from roughly 1/4 inch to 3/4 inch, and a ramp or overlap profile beyond that. An overlap reducer also grips carpet, so it is the better answer for laminate to carpet.
What if the gap is too narrow for a T-molding?
You have three options, in order of least disruption. Fill the gap with a flexible colour-matched caulk and leave it flush, widen the gap carefully with a multi-tool if the higher floor edge can take it, or switch to a narrower profile such as a small T-bar or an overlap reducer. Do not force a wide profile over a narrow gap, because it will rock.
How do I measure the height difference between two floors?
Lay a straightedge across the joint and measure the gap underneath it with a ruler or a gauge card, at three points along the run. Record the highest reading and size the profile to that number, not the average. A reading taken at only one point is how people end up with a strip that is too proud on one end and too shy at the other.
Can I install a transition strip myself?
Yes. A straight run of T-molding or a reducer in a doorway takes well under an hour once the floor is down. Bending a rigid metal profile around a curve, matching a discontinued wood finish, or hitting a structural height change in an opening are the cases worth paying a professional for.
Which transition strip works best on an uneven subfloor?
An adjustable or floating reducer profile is built to bridge a hollow rather than sit on a flat plane, so it is the usual answer when the joint dips between the two floors. Fill the worst of the dip with a compatible filler first, and check the whole run with a straightedge, because no profile compensates for framing that is genuinely out of level.
Conclusion
Start by identifying both flooring types and measuring the joint at three points, then choose a profile that covers the widest height difference you found. Everything after that, cleaning, cutting, fastening and sealing, is straightforward. Choose in the wrong order and you will be chiselling a strip out of a finished floor.