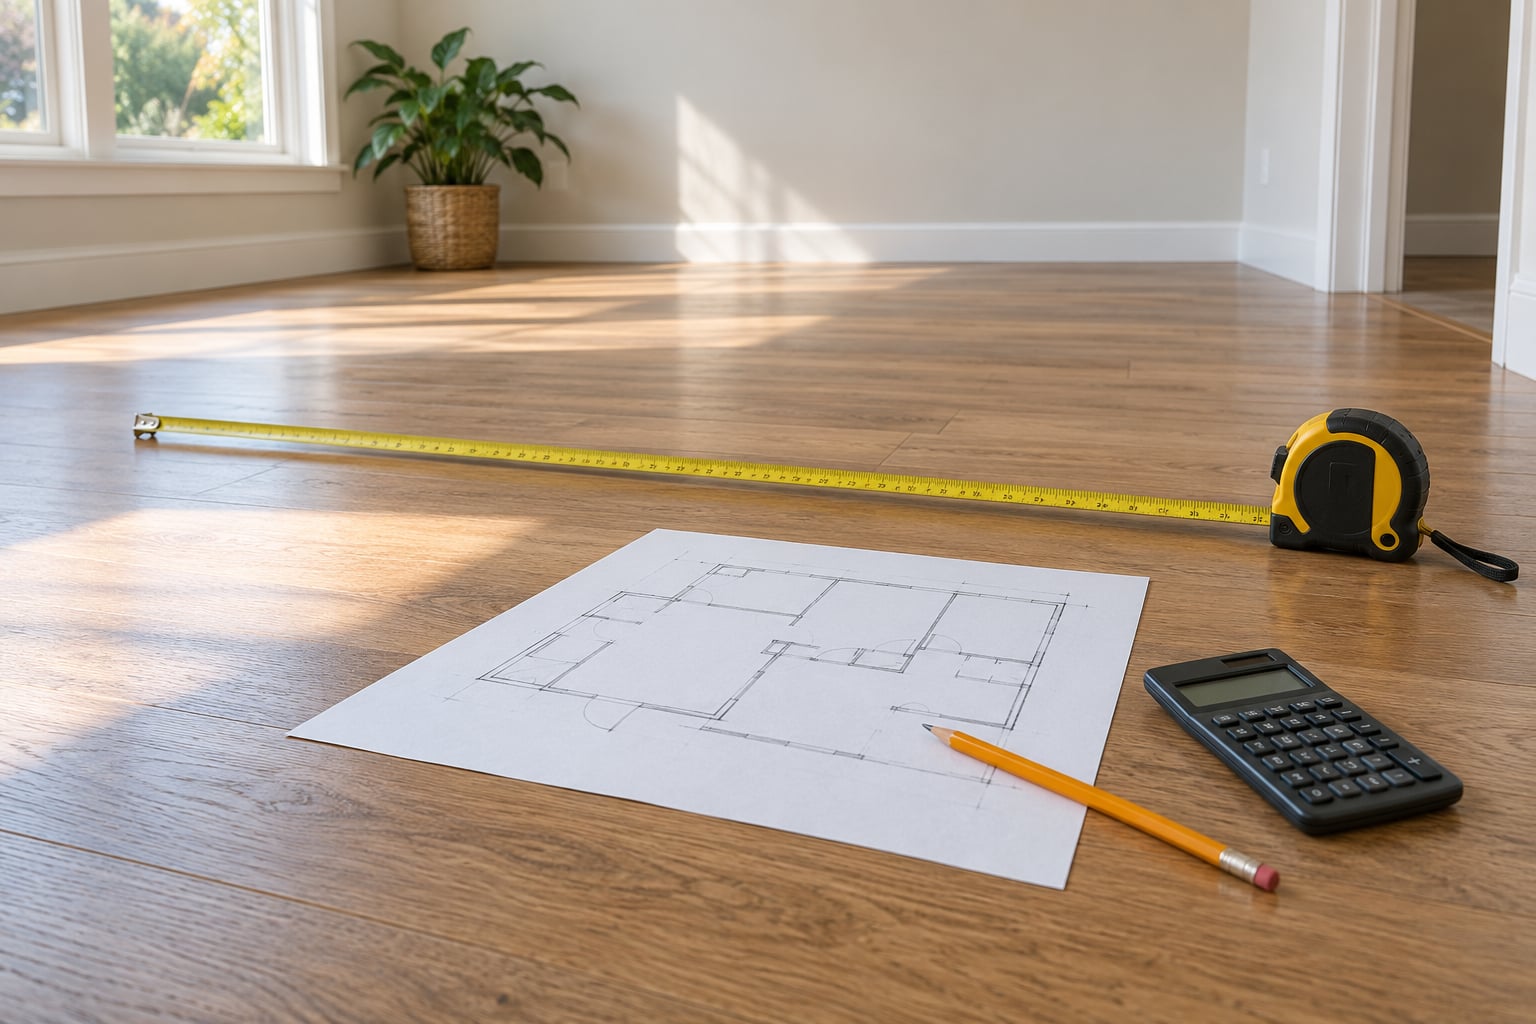
To measure a room for flooring, measure the length and width of the floor at its longest and widest points, multiply them for square footage, then add 10% extra for standard layouts or 15% to 20% for diagonal and pattern work before you turn square feet into boxes. A typical living room takes under 20 minutes with a tape measure and a notepad, and the whole job is arithmetic once the numbers are on paper.
The reason to be careful is that flooring comes in whole cartons, dye lots shift in color, and a project that runs short mid-install has to stop while you hunt for a matching replacement. Here is the whole process, in the order I would do it.
- Gather your tools — tape measure, pencil, notepad or phone, and a calculator.
- Measure the length and width of each wall at floor level — wall to wall, not baseboard to baseboard, and take the largest number at three points along each wall.
- Sketch the room and split anything irregular into rectangles — closets, alcoves and bays each get their own number.
- Add your waste factor — 10% for a straight lay, 15% to 20% for diagonal, herringbone, tile or a first-time install.
- Convert to cartons and round up — divide by the box coverage printed on the label, then buy the next whole carton.
Table of Contents
- What You Need
- How to Measure a Room for Flooring Step by Step
- Measure the Length and Width of Each Wall
- Sketch the Room and Note Irregular Areas
- How to Calculate Square Footage for Flooring
- Add the Correct Waste Allowance
- Confirm Before You Order
- Common Mistakes
- Frequently Asked Questions
- How much floor is needed for a 12×12 room?
- How much flooring do I need for a 10×20 room?
- What is the rule of 3 in flooring?
- How much waste do you add for flooring?
- Should I include closets when calculating flooring?
- Do I measure wall to wall or baseboard to baseboard?
- Conclusion
What You Need
You need very little, and all of it is cheap or already in a drawer. A 25-foot tape measure is the main tool; a 50-foot one is worth it if you are measuring a long hallway or a room with a diagonal run longer than 25 feet.
- Tape measure — a wide blade that stays rigid is easier to keep at floor level without the tape sagging.
- Pencil — for writing numbers on the sketch as you go, not at the end from memory.
- Notepad or phone — one page per room, labeled, so multi-room projects stay straight.
- Calculator — phone math is fine, but a cheap handheld keeps you at the room instead of walking to the kitchen.
- Painter’s tape — optional, but sticking a scrap of tape on each wall and writing the dimension on it stops the wall labels from getting mixed up.
Measure everything twice and write both numbers down. The second measurement is not paranoia; it is how you catch an out-of-square wall before it becomes a shortage. I write both values and use the larger one, which is the safe direction.
If you want a printable version, copy the section headings onto a fresh page as boxes: room name, length at three points, width at three points, subtotal, waste, total, cartons. That is the entire worksheet.
How to Measure a Room for Flooring Step by Step
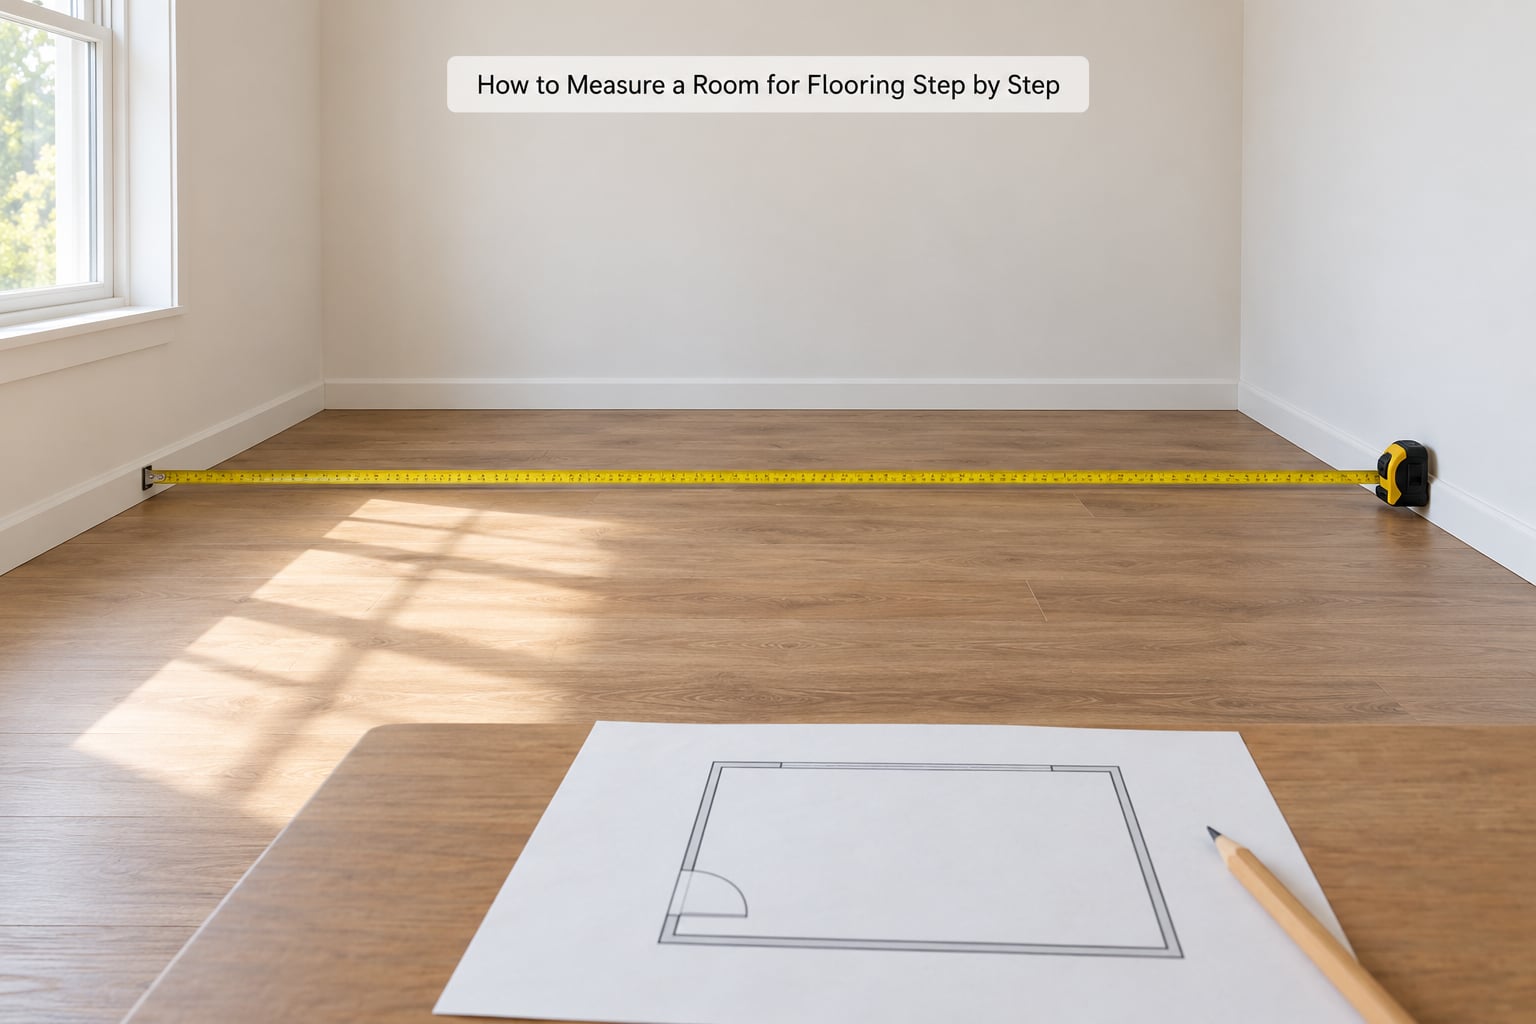
Move the furniture you can lift before you start. You do not need to empty the room, but a sofa in the middle of a rectangle makes it much easier to forget a section, and you want a clear run of floor for the tape.
Measure the Length and Width of Each Wall
Measure along the base of each wall, at floor level, from wall surface to wall surface. Flooring tucks under baseboard, so measuring baseboard to baseboard gives you an area that is too small, and the shortfall shows up at the end of the job when the last row comes up short.
Take three measurements per wall: one about a foot in from each end and one in the middle. Old houses are rarely square, and a wall that is 12 feet 2 inches on one end and 12 feet 9 inches on the other is not an error in your tape. Room-not-square discussions on hardwoodflooringtalk.com keep landing on the same fix: use the largest of the three numbers for every wall. That single habit prevents both shortages and the expensive kind of over-ordering.
Write down every reading, not just the winner. When the total looks wrong later, the raw numbers usually explain why.
Sketch the Room and Note Irregular Areas
Before you do any arithmetic, draw the outline on your notepad and add every feature that changes it: doorways, closets and walk-in closets, alcoves, bay windows, columns, fireplaces, a kitchen island, a peninsula, and any step-down or step-up.
Sketching first is what keeps an L-shaped room honest. If you break it into two rectangles, you have to pick the joint line so the two pieces share the overlap area instead of counting it twice, and that is much easier to do on paper than in your head.
Label each feature with a number as you go, and note whether it is in or out. Built-in cabinets, a fixed island and a gas fireplace that will not move are excluded. Closets, hallways, alcoves and door thresholds are in. A floor you cannot get flooring into is not floor you need to buy.
How to Calculate Square Footage for Flooring
For a rectangle, the formula is simple: floor area equals length times width. The part that trips people up is units. A tape measure gives you feet and inches, and multiplying 12 times 12 feet 6 inches does not work. Convert first: 12 feet 6 inches is 12.5 decimal feet, not 12.6, because 6 inches is half a foot. Squaring 12.5 gives 156.25 square feet, while squaring 12.6 gives 158.76 — a small error that grows when you apply it to every wall in the house.
Keep one unit throughout. If your sketch is in feet and inches, convert to decimal feet before multiplying. If you are working in metric, remember that 1 square meter is 10.764 square feet, so measure the whole project one way and convert once at the end.
For anything that is not a rectangle, split it into rectangles and add the pieces. A common L-shaped living room might be a 16 by 12 main area plus a 8 by 6 extension: 192 plus 48 gives 240 square feet, as long as the 8 by 6 rectangle sits entirely inside the 16 by 12 outline and is not already counted in it. If the two shapes genuinely share an area, offset the split line so the shared strip is assigned to one rectangle only.
Once you have a room total, add the numbers for the closets, alcoves and connecting hallways to get the project area. Stairs get measured separately, by tread depth and riser count, and carpet on stairs is priced by the yard or by the step, not by square footage of the flat floor.
Add the Correct Waste Allowance
Waste is not padding; it covers the cut at the end of every row, the mistakes, the damage, and the boards you keep for a future repair. The waste factor depends on the layout, because a diagonal or herringbone lay throws far more material into the offcuts pile than a straight lay does. Experienced installers recommend leaning toward 15% to 20% for diagonal and herringbone layouts rather than the standard figure, and beginners should treat that as a floor, not a target.
| Flooring type | Layout | Waste to add |
|---|---|---|
| Hardwood | Straight lay | 10% |
| Hardwood | Diagonal or herringbone | 15% to 20% |
| Laminate or luxury vinyl plank | Straight lay | 10% |
| Laminate or luxury vinyl plank | Diagonal or 45 degree | 15% |
| Ceramic or porcelain tile | Straight or offset | 10% |
| Ceramic or porcelain tile | Diagonal or pattern | 15% to 20% |
| Carpet | Seamless, room under 12 feet wide | 10% |
| Carpet | Wide room with seams or a border | 15% |
| Sheet vinyl | Straight | 10% |
| Vinyl tile | Straight or 45 degree | 10% to 15% |
Multiply your project area by the waste factor to get the total to buy. A 144 square foot room at 10% needs about 158.4 square feet, so round to 159 and then round up again when you convert to cartons. That double rounding is not fussiness; it is what stops you being one board short on the final row.
There is a useful buying habit people call the rule of 3: keep at least three spare boards, or roughly three square feet of material, no matter what the math says. Store them flat in the room they came from. Later, when a board lifts from a spill or you replace a section under a cabinet, a new board from a different production run will not match the color of the floor around it, and discontinued lines are effectively gone. The leftovers in your closet are the only repair piece that will ever match.
Confirm Before You Order
Read the box coverage label before you convert. Every carton states how many square feet it covers, and it is often less than the area of the room squared would suggest. Divide your adjusted square footage by that number and always round up to the next full carton, then check the retailer’s own requirement, which may be a higher minimum order for a sale.
Buy every carton for one room from a single lot number, and read the lot code on the box. If you are covering several rooms, you can still keep them separate on the floor as long as you do not mix boxes from different lots inside the same room. Note the lot number and the style name somewhere outside the room, because you will want them for any future repair.
Dry-fit a few boards or a tile row before you start cutting. It costs ten minutes and shows you where the joints will land, which matters for a patterned product. Hardwood and engineered wood also need to acclimate in the room for the period listed on the manufacturer’s sheet, which changes nothing about your quantity but everything about the install date.
If you are not confident in the outline, ask the retailer or installer to verify. Plenty of stores will check a floor plan or a photo of your sketch at no charge, and a professional measuring service is cheap next to a room that is already half covered and discovered to be short. A rule of thumb: if the room is L-shaped, has a bay window, or the walls are visibly out of parallel, get a second set of eyes.
Common Mistakes
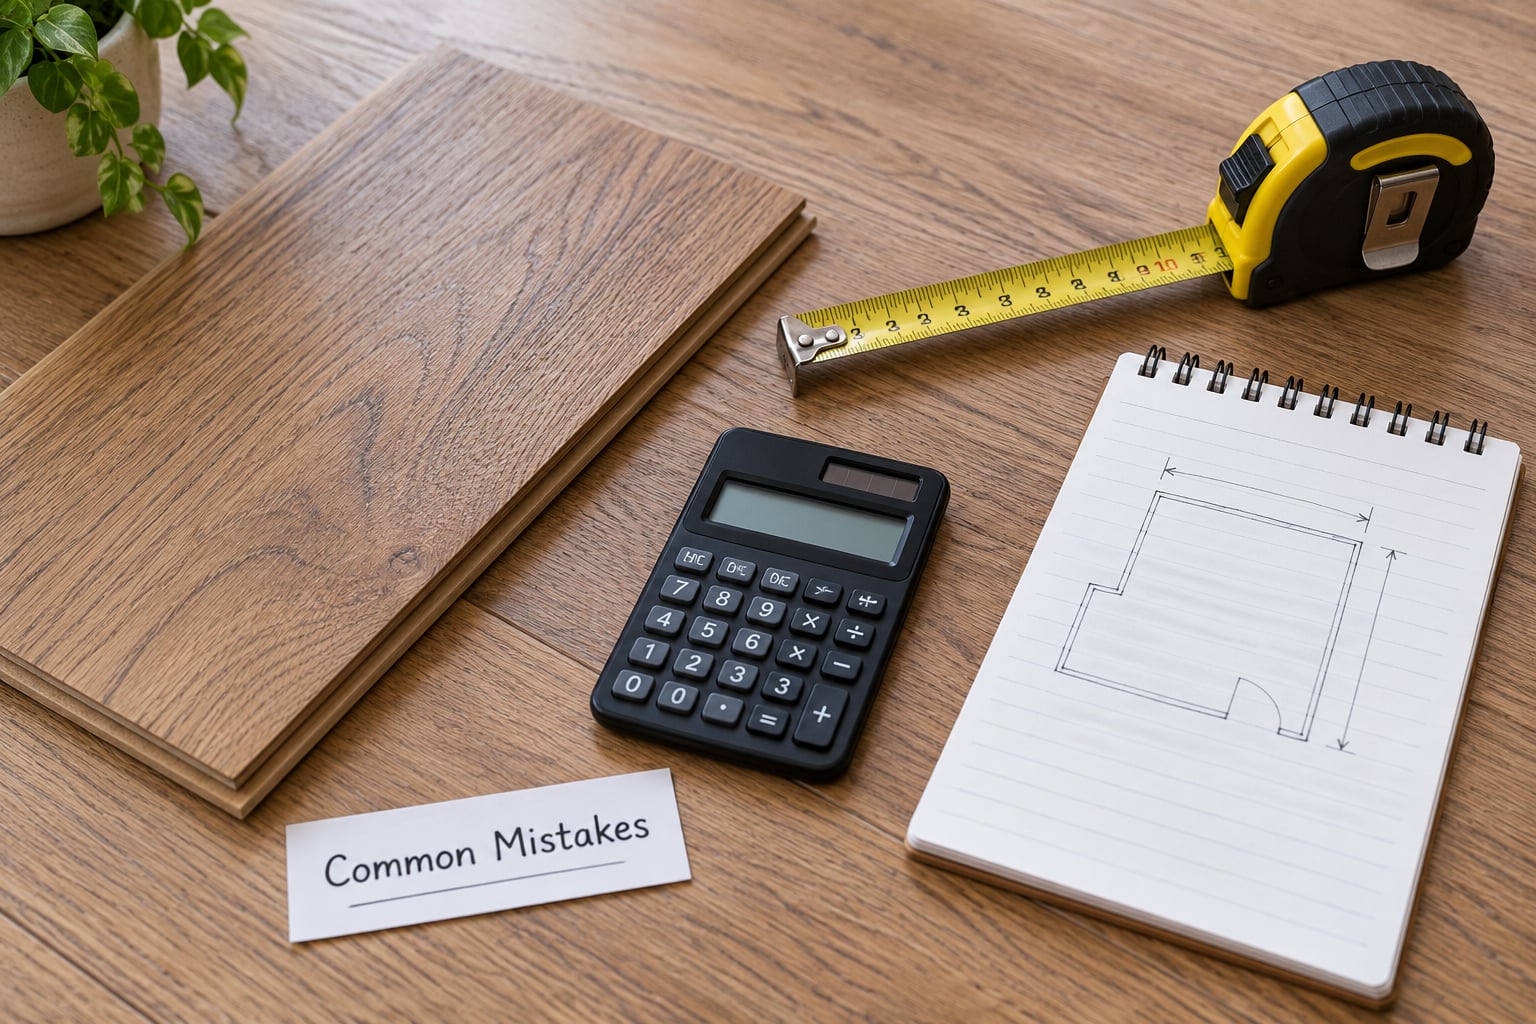
Every one of these shows up repeatedly, and all of them are avoidable with a slower five minutes of measuring.
- Measuring baseboard to baseboard — flooring slides under the trim, so you are measuring an area smaller than the one you will cover. Measure at the wall surface instead.
- Assuming the room is a rectangle — bays, alcoves, columns and fireplaces break the outline. Sketch it, and add the extra pieces instead of eyeballing them.
- Forgetting closets and connecting hallways — DIYers report the biggest estimating errors come from omitted closets, not from arithmetic. Measure each one and add them separately.
- Mixing decimal feet with inches — 12 feet 6 inches is 12.5, not 12.6. Convert everything before you multiply.
- Skipping the waste allowance — 10% is the standard, and skipping it is the same as deciding in advance to run out at the last two rows.
- Rounding carton counts down — 7.95 cartons means 8 cartons. Always round up, then check the retailer’s minimum order.
- Ignoring the packaging format — carpet comes in roll widths, not cartons, and a room wider than about 12 feet cannot be seamed in one piece. Stairs and treads are priced differently again.
- Buying from two lot numbers — visible shade differences show up in the middle of a finished room and cannot be blended out.
One more habit worth keeping: after the install, store the leftovers in the same climate as the room rather than in an unheated garage. Wood moves with humidity, and a board acclimated in different conditions will not sit flat in a repair.
Frequently Asked Questions
How much floor is needed for a 12×12 room?
A 12 by 12 room is 144 square feet. Add 10% for a straight lay, which brings the order to about 158.4 square feet, so round up to 159. On a carton that covers 20 square feet, that works out to 8 cartons. Add 15% instead of 10% if the floor goes in diagonally or you have never installed this product before.
How much flooring do I need for a 10×20 room?
A 10 by 20 room is 200 square feet. With the standard 10% waste factor that becomes 220 square feet, and on a carton covering 20 square feet you need 11 cartons. Measure the longest and widest points rather than assuming 10 and 20 are accurate, and add closets, alcoves and hallways as their own areas before you finalize the number.
What is the rule of 3 in flooring?
It is a buying and storage habit rather than a formula: keep at least three spare boards, or about three square feet of material, after the install. Flooring lines get discontinued and dye lots shift in color, so a replacement board bought years later rarely matches. The extra boards from the original lot are the only repair piece that blends in.
How much waste do you add for flooring?
Add 10% for a straight lay in hardwood, laminate, tile, carpet and sheet vinyl, and 15% to 20% for diagonal, herringbone, chevron, patterned tile, or any install you have not done before. Wide carpeted rooms with seams need about 15%. The extra material covers end cuts, a damaged board and the repairs you will want later.
Should I include closets when calculating flooring?
Yes, measure each closet and add it to the room total, including walk-in closets, alcoves and connecting hallways. Exclude fixed items that will not be covered, such as a built-in cabinet run, a kitchen island that stays in place, or a solid masonry fireplace. The rule is simple: if flooring goes into it, it goes in the count.
Do I measure wall to wall or baseboard to baseboard?
Measure wall to wall, at floor level, from one wall surface to the other. Baseboard sits on top of the finished floor, so measuring across it shrinks your area by the width of the trim, and the shortage appears on the last row. Take three readings per wall and use the largest, because rooms that are out of square are normal, especially in older homes.
Two quick reference totals while you shop. A 12 by 12 room with a 10% allowance needs about 159 square feet, or 8 cartons at 20 square feet each. A 10 by 20 room with the same allowance needs 220 square feet, or 11 cartons.
Conclusion
To measure a room for flooring, start with the longest and widest points of each wall, measured wall to wall at floor level, and take the largest of three readings per wall. Sketch the outline, split anything irregular into rectangles, and add closets, alcoves and hallways as separate areas.
Multiply the project area by a waste factor of 10% for a straight lay or 15% to 20% for diagonal and pattern work, divide by the box coverage on the label, and round up to whole cartons from a single lot. Then keep three spare boards when the job is done.