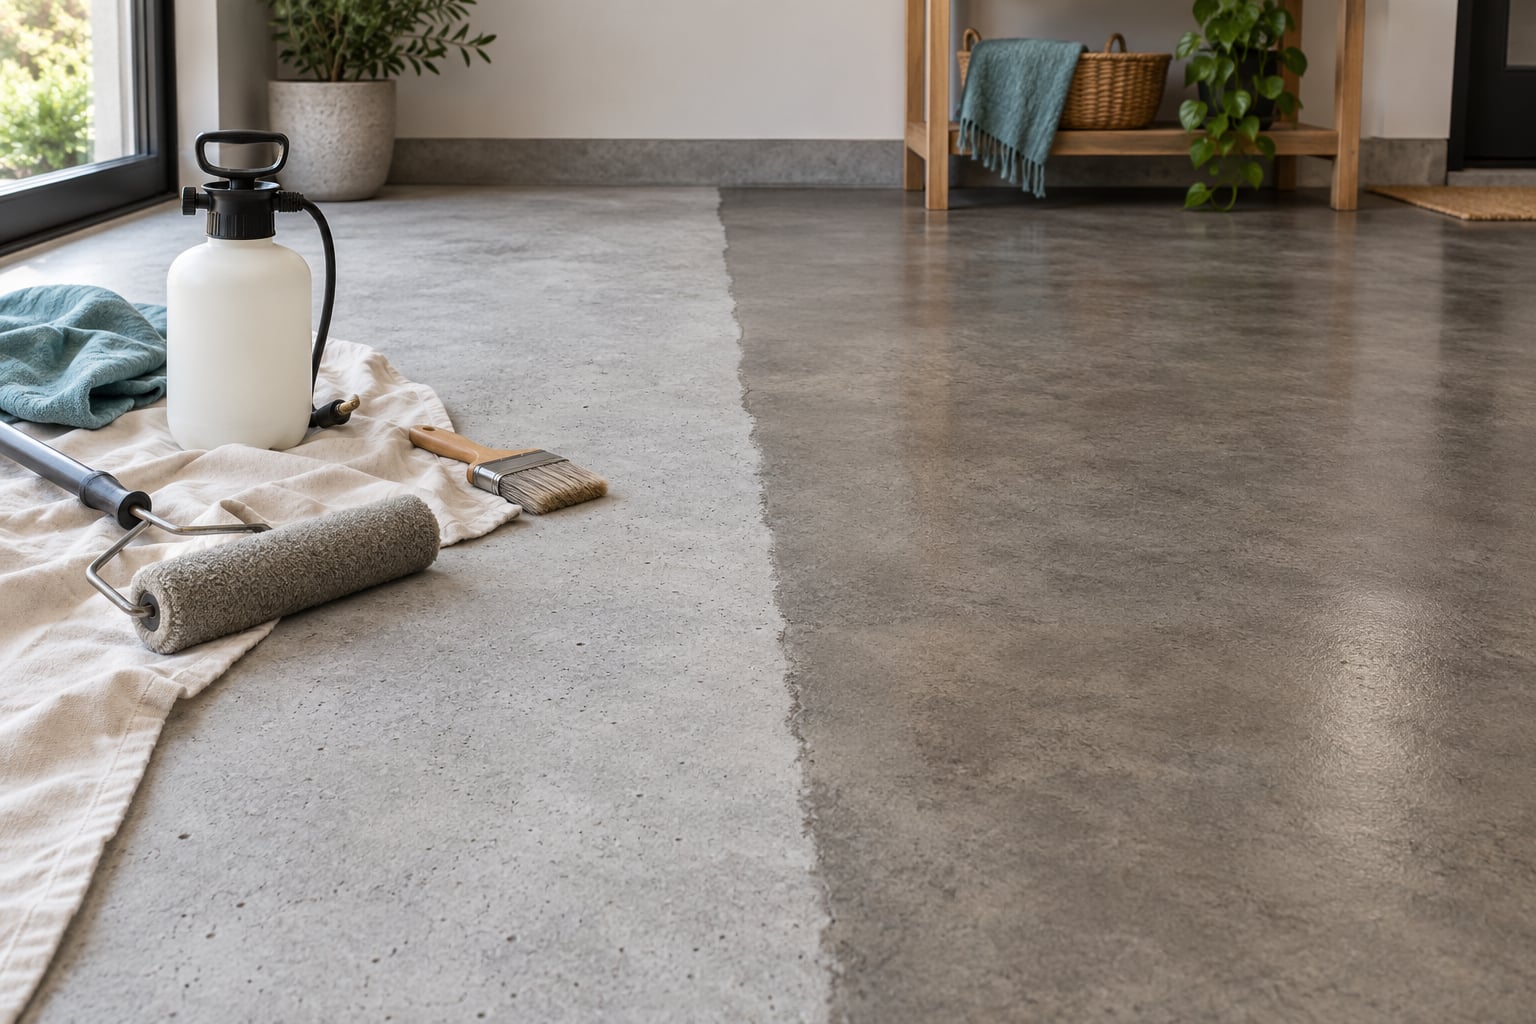
To stain a concrete floor, you clean and prep the bare slab, apply a translucent water-based stain or acid stain in thin even coats, let it dry, then finish with two or three coats of clear concrete sealer. Plan on a weekend plus two dry days, and the work is well within reach of a careful beginner.
The part that trips people up is not the staining. It is skipping prep and then wondering why the color looks blotchy and the sealer peels off in February. Everything below follows that order, because each stage depends on the one before it.
Concrete is porous, and that porosity is the whole trick. A clean, unsealed slab drinks color into its surface. Acid stain goes one step further and reacts chemically with the calcium hydroxide in the concrete, which is why it can never chip or peel. Water-based stain is pigment sitting in the pores, and it is easier to control but easier to wear away without a good sealer.
One expectation to set early: the mottled, cloudy look is the finish. As one r/DIY first-timer put it, some areas will hold stain better than others and you should not fight it. Anyone promising a flat, uniform color from a stain is selling you paint.
Table of Contents
- What You Need
- Step-by-Step
- How to Stain a Concrete Floor Step 1: Inspect and Repair the Slab
- How to Stain a Concrete Floor Step 2: Clean and Etch as Needed
- How to Stain a Concrete Floor Step 3: Test the Product and Color
- How to Stain a Concrete Floor Step 4: Apply the Stain Evenly
- How to Stain a Concrete Floor Step 5: Dry, Seal, and Cure
- Common Mistakes
- How to Stain a Concrete Floor on High-Traffic Areas
- Frequently Asked Questions
- Can you stain painted concrete?
- What is the best concrete stain for a garage floor?
- Should concrete be sealed after staining?
- How many coats of stain should I put on concrete?
- How long does it take for a stained concrete floor to dry?
- Conclusion
What You Need
A successful stain job needs less than most people buy. The categories below cover everything, and the optional rentals can wait until you know your floor needs them.
- Condition checks: a drop of water and a damp rag for the absorption test, plus a flashlight to spot cracks and a straightedge to find low spots where water would sit.
- Repair materials: concrete patch or hydraulic cement for cracks and pop-outs, and a chisel and hammer for spalling that flakes when you poke it.
- Cleaning supplies: a concrete degreaser or trisodium phosphate (TSP), stiff nylon brush, hot water mop, wet vacuum, and clean rinse buckets. DIYers who have done this before go straight to hot mopping with TSP and several buckets of hot clear rinse water.
- Stain: a water-based concrete stain for most indoor work, an acid stain if you want reactive permanence and a limited earth-tone palette, or a concrete dye if you are chasing a color acid and pigment stain cannot reach.
- Sealer: two or three coats of a clear concrete sealer matched to the room. Penetrating sealer for freeze-thaw protection outdoors, acrylic for an easy wet-look sheen indoors, epoxy for garage-grade oil resistance, urethane as a scratch-resistant topcoat.
- Safety gear: chemical-resistant gloves, eye protection, a respirator, and open ventilation. If you use acid, keep a baking-soda-and-water neutralizer mixed and within arm’s reach before you open the container.
- Application tools: a hand-pump sprayer with a plastic wand, a paint strainer to catch grit, a 3/8-inch nap roller, and a paintbrush for edges.
- Optional rentals: an angle grinder with a diamond cup for laitance, an acid etch for dense slabs, a wet vacuum, and an HVLP sprayer if you want a finer mist than a hand pump gives you.
Water-based stain is low odor, low VOC, and gives you a much wider palette including teal, aqua, and bright white. Acid stain is permanent and low in VOCs but limited to blacks, browns, umbers, and greens. Concrete dye gives you saturated non-neutral colors and needs a top-quality sealer to survive.
Use a plastic sprayer wand with acid. Metal parts corrode, and a rusted wand will streak the slab and contaminate your next batch.
Step-by-Step
Five steps get you a stained, sealed floor that lasts. Each one has a check you can run before moving on, and stopping to run that check saves you from the expensive failure downstream.
How to Stain a Concrete Floor Step 1: Inspect and Repair the Slab
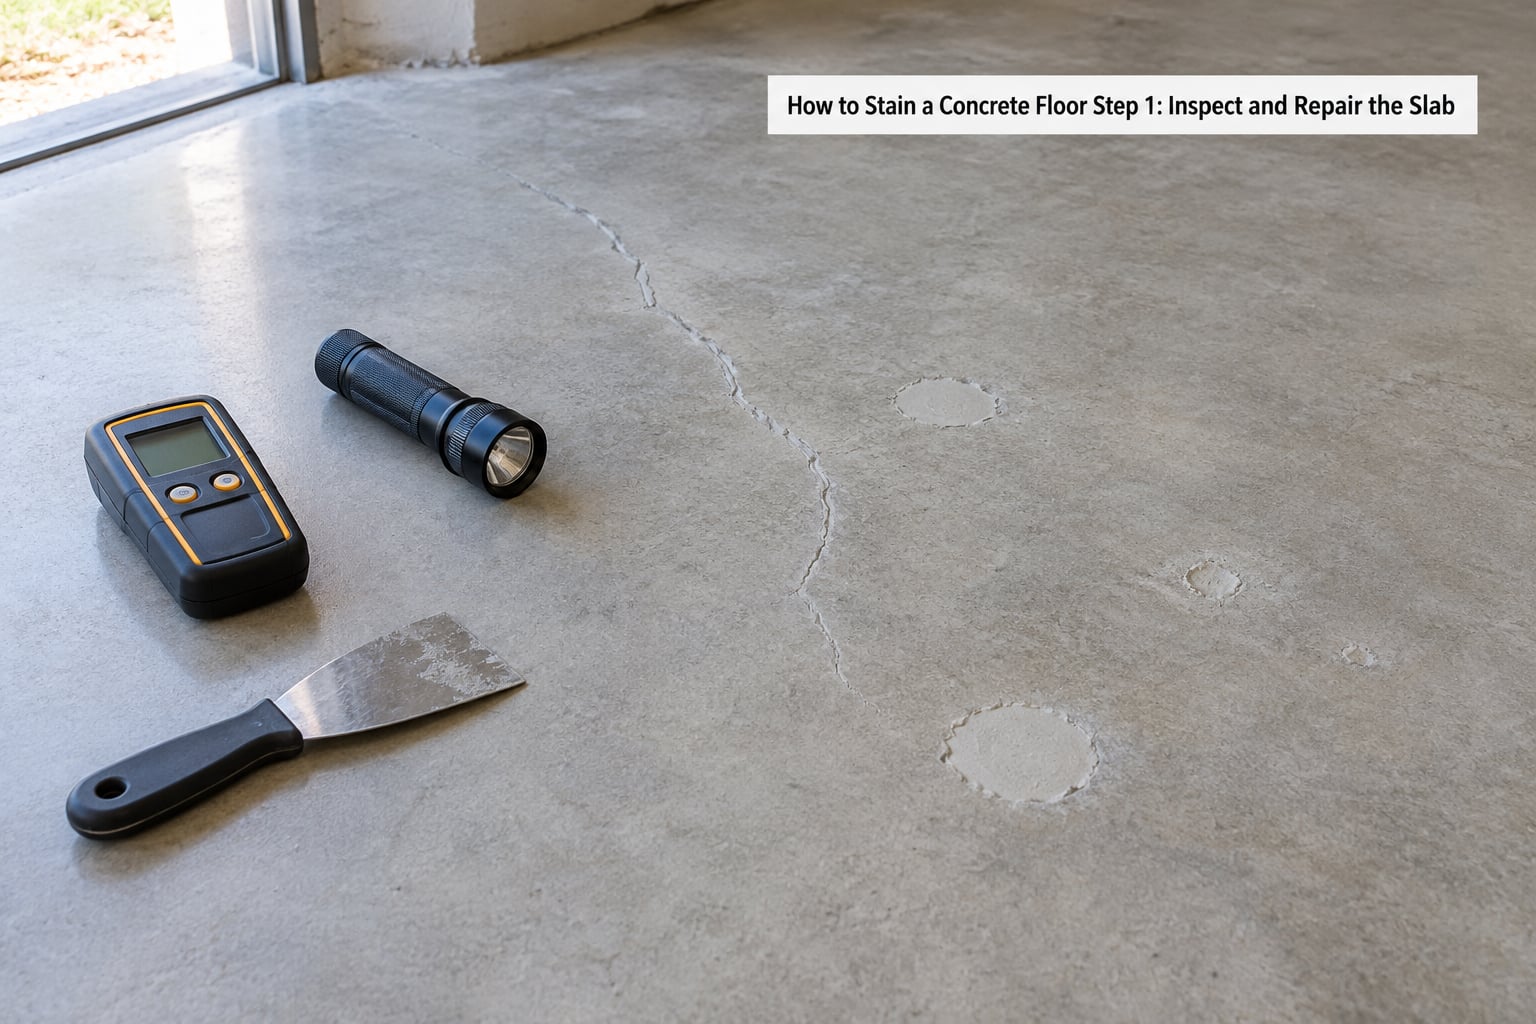
The slab has to be sound, bare, and dry before anything else matters. Start in a corner out of the way and work your way out.
Pour a few drops of water on the concrete and time it. Bare concrete absorbs water in three to five minutes. If the water beads and sits on top, an old sealer is still there, and stain will not penetrate it. Sanding a light sealer is usually enough; a heavy epoxy or urethane film has to come off mechanically.
Look for the milky loose top layer called laitance, the fine powder that power-troweling leaves behind. It sits on the surface rather than in the slab, and stain that soaks into laitance rubs off later. Grind it off or etch it away.
Fill cracks and pop-outs with concrete patch, and chisel out anything spalling. Grind patched areas so the repair sits flush with the surrounding concrete, otherwise the repair shows through the stain as a lighter patch.
Tap the whole slab with a knuckle. A hollow sound means delamination under the surface. Check for dampness or a musty smell along exterior walls, which points to drainage or groundwater rather than a finish problem. Major structural movement, heaving, or a wet slab is a job for a concrete professional, not a weekend.
How to Stain a Concrete Floor Step 2: Clean and Etch as Needed
The goal at this stage is concrete that is clean, absorbent, and free of dusty residue. You can confirm it by wiping the floor with a clean white cloth after cleaning. If the cloth picks up film or powder, you are not done.
Scrub oil and grease with a concrete degreaser or TSP solution, and give it time to break the stain down before you agitate it. Any oil left behind will either repel the stain or cause the sealer to fail to bond.
On the single most common forum question, converting a carpeted or tiled subfloor: pull the carpet, then chase every trace of adhesive. Tack residue is sticky, invisible when dry, and it will ghost through the stain as pale blotches no amount of scrubbing removes after the fact. Remove adhesive while it is workable, then sweep and vacuum thoroughly.
Now decide between grinding and etching. On a power-troweled slab that is dense and smooth, an acid etch opens the pores so stain can penetrate. On concrete with laitance, a grinder with a diamond cup attachment is faster and more thorough. One caution on acid stain: as a garagejournal discussion notes, the acid etch happens for you as part of the stain reaction, so a separate etch is unnecessary there.
Rinse thoroughly, wet-vacuum the slurry if you ground, and let the slab dry completely. Any residual dust becomes a barrier that the sealer cannot bridge, which is exactly how peeling starts.
How to Stain a Concrete Floor Step 3: Test the Product and Color
Always test in an inconspicuous spot first. A coat in a closet corner or behind where the couch sits tells you the color, the coverage rate, and whether the sealer will bond, for a fraction of the cost of finding out across the whole floor.
Apply the stain and sealer exactly the way you plan to on the real floor, and let the full cure time pass before you judge the result. A wet patch looks darker than the same patch cured, and evaluating color too early is how people end up adding a second coat they did not need.
Look at the test in the room’s actual lighting. Under a garage fluorescents, a color reads cool and flat; in evening light from a window it can shift warm. Colors are also lighter over the full floor than they appear on a small patch, because you are viewing a large even field instead of one isolated spot.
Confirm compatibility as you go. Water-based stain over an old water-based stain is fine. Acid stain over paint, epoxy, or a waxed surface is not. If the floor has an existing finish you cannot identify, find out before you spend money.
How to Stain a Concrete Floor Step 4: Apply the Stain Evenly
Even application is the whole job. Blotches and streaks come from too much product in one spot and too little in the next, not from a bad batch of stain.
Strain the stain through a paint strainer into the sprayer, and shake or stir it. Settled pigment is the number one cause of a spotty coat.
Cut in first with a brush along walls, corners, and edges. Then spray the field in overlapping passes, keeping a wet edge ahead of you as you work. Maintaining that wet edge is what prevents lap lines, the darker streaks where a dried pass meets a fresh one. If a pass starts to dry before you can overlap it, work that section again before it fully sets rather than trying to blend it hours later.
Roll the stain out with a 3/8-inch nap roller after spraying to push color into the pores and even out the mist pattern. Work the roller in one direction and pick up excess so you are not depositing puddles.
For acid stain, let it dwell four to eight hours as the label directs, keeping the surface damp with a garden sprayer. For water-based stain, follow the label’s dry time. Two thin coats beat one heavy coat every time, because heavy coats pool in low spots and dry darker there.
On a large area such as a twelve-square-yard slab, work in manageable sections rather than trying to rush a whole garage. Keeping a consistent pace beats a fast one.
How to Stain a Concrete Floor Step 5: Dry, Seal, and Cure
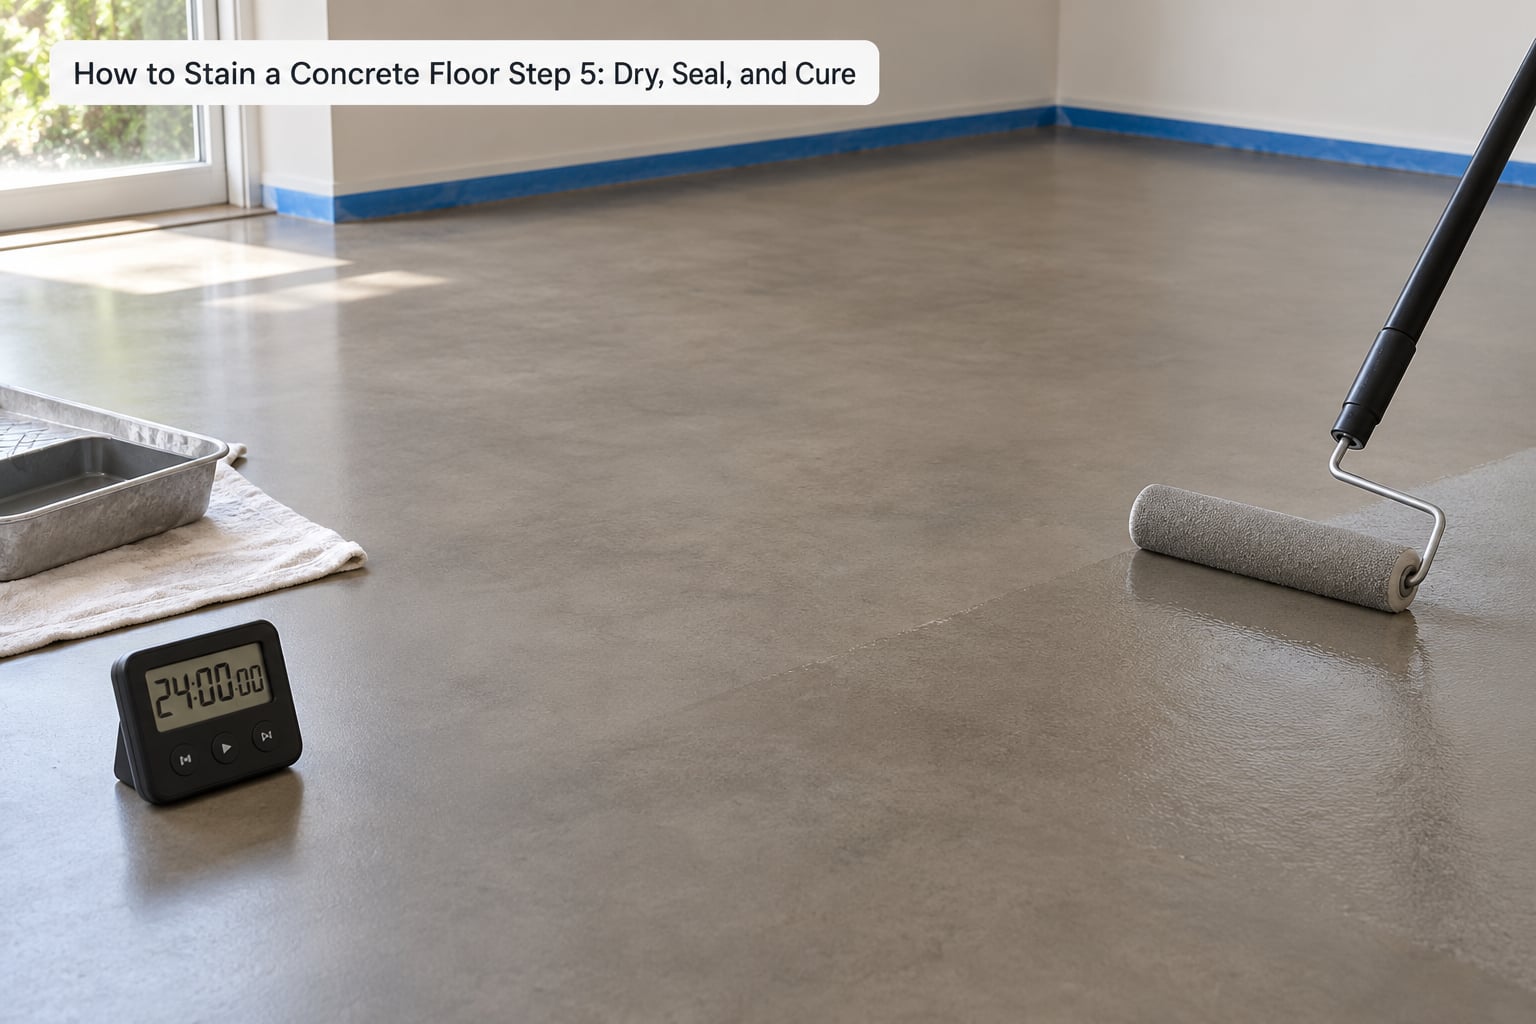
Let the stain dry fully before sealing. Most water-based stains need a minimum of 24 hours, and acid stains need neutralizing and rinsing first.
If you used acid stain, neutralize the surface with a baking-soda-and-water solution, then rinse until the runoff runs clear and the slab has no acidic smell. Sealing over live acid destroys the sealer, and the finish will peel in patches within months.
Brush or roll off any excess residue the stain leaves behind, per the product directions, so the surface is uniformly colored rather than sticky in low spots.
Seal in two or three thin coats. Thin is the operative word. Thick coats trap moisture, and that trapped moisture shows up as white cloudy film called blushing. Let each coat dry to the touch before the next, and lightly abrade between coats if the manufacturer recommends it.
Check cure time on the label before foot traffic and before you park anything on it. Rushing either one leaves marks that no amount of cleaning removes.
Common Mistakes
Almost every bad stain job traces back to one of these. Each has a straightforward correction.
- Skipping prep. Stain over dust, laitance, and it rubs off. Fix: grind, etch, rinse, dry, and wipe with a white cloth to confirm the surface is clean before the stain goes down.
- Leaving oil, tack, or adhesive behind. The result is pale blotches that show through the color forever. Fix: degrease with TSP or a concrete degreaser and remove all carpet adhesive while it is still workable.
- Not testing first. The color arrives darker or cooler than the sample. Fix: test a hidden corner through the full sealer and cure cycle before touching the main floor.
- Applying in bad conditions. Cold or humid conditions slow drying and trap moisture. Fix: work in moderate temperature with low humidity and good airflow, and never seal a damp slab.
- Using incompatible products. Acid over paint, water-based stain over an unknown film, or a solvent sealer over a water-based stain all fail. Fix: identify what is already on the slab with the water test and the manufacturer’s compatibility chart.
- Working past the wet edge. Overlapping dried passes leave lap lines. Fix: overlap while the previous pass is still damp, and re-wet any pass that has started to dry.
- Laying too many heavy coats. Puddles dry darker in low spots and sealer film gets thick. Fix: two or three thin coats, each dried and lightly abraded before the next.
- Neglecting the sealer. Unsealed stain wears off in traffic paths. Fix: seal every time, and plan to reseal every few years depending on use.
How to Stain a Concrete Floor on High-Traffic Areas
Garages, basements, workshops, and entryways need a stronger finish than a bedroom. That durability comes from the sealer, not the stain.
For a garage where vehicles park, use an epoxy or urethane sealer rated for that traffic. Epoxy handles oil, grease, and road salt; urethane adds scratch resistance on top. Add a slip-resistance grit additive to any wet-prone surface.
Keep coats thin and let each one cure fully between applications. Professional installers report more peeling in spaces without full-time heat, where a cold-weather install traps moisture in the slab and the film fails after the first winter. If your garage or basement is unheated through winter, either wait for warmer weather or bring the space up to a comfortable temperature and dry before you start.
For maintenance, dust-mop with a pH-neutral cleaner and keep grit off the surface. A sacrificial wax topcoat gives you something to strip and renew instead of stripping sealer down to bare concrete.
On durability, be honest about the range. Concrete stain, even sealed, typically runs three to seven years before high-traffic areas show real wear and need resealing. If a floor needs to look new indefinitely with zero upkeep, a broadcast epoxy system or polished concrete is the better project, and worth hiring a professional applicator for.
Frequently Asked Questions
Can you stain painted concrete?
Not directly. Paint forms a film on the surface, and stain needs to reach the pores of the slab, so it will not bond over it and will peel away. The fix is mechanical: strip the paint with a grinder or a floor scraper, then check for residue and clean before etching or grinding. If the paint covers most of the floor and is firmly bonded, a coating or polish-and-dye system may suit you better than a bare-slab stain.
What is the best concrete stain for a garage floor?
A water-based stain paired with an epoxy or urethane sealer works best in a garage. Water-based stain keeps the odor low, which matters in a space attached to a house, and gives you a wide color range. The sealer is what actually survives vehicles, road salt, and oil. Add a slip-resistance additive, and expect to reseal the traffic lanes every few years depending on how much you drive on the slab.
Should concrete be sealed after staining?
Yes. Seal after staining every time. Stain sits in the pores of the concrete and wears away under foot traffic, water, and cleaning without protection. Two or three thin coats of a clear concrete sealer lock the color in, keep the surface non-porous so spills wipe off, and add resistance to staining from grease and dust. Penetrating sealer suits outdoor or freeze-thaw exposure, while acrylic, epoxy, and urethane give indoor floors their sheen and durability.
How many coats of stain should I put on concrete?
Two thin coats is the standard for water-based stain, and one coat often works for acid stain because its color comes from a chemical reaction rather than pigment depth. Apply an extra coat only if your test patch shows bare concrete after the first pass dries. Judge it cured, not wet, since a damp patch always looks darker than it settles. Heavy coats are worse than more thin ones, because they pool in low spots and dry unevenly.
How long does it take for a stained concrete floor to dry?
Most water-based concrete stains need at least 24 hours before sealing, and longer in cold or humid conditions. Acid stain needs neutralizing and rinsing first, then the same drying window. Sealer needs its own cure time before foot traffic, and considerably longer before you drive a vehicle on it. Check the label on your specific product, since cure times vary. Plan a work weekend plus two dry days to be safe.
Conclusion
Start with the slab, not the color. Inspect it for moisture, cracks, and old coatings, run the water test to confirm it is bare, and clean and etch it until a white cloth comes back clean. Then test the stain and sealer in a hidden spot through the full cure cycle, apply thin even coats while keeping a wet edge, and seal in two or three thin layers.
That prep is unglamorous, and it is what separates a floor that lasts from one that peels. Get those three parts right and the mottled finish looks intentional.